Friday September 24, 2010
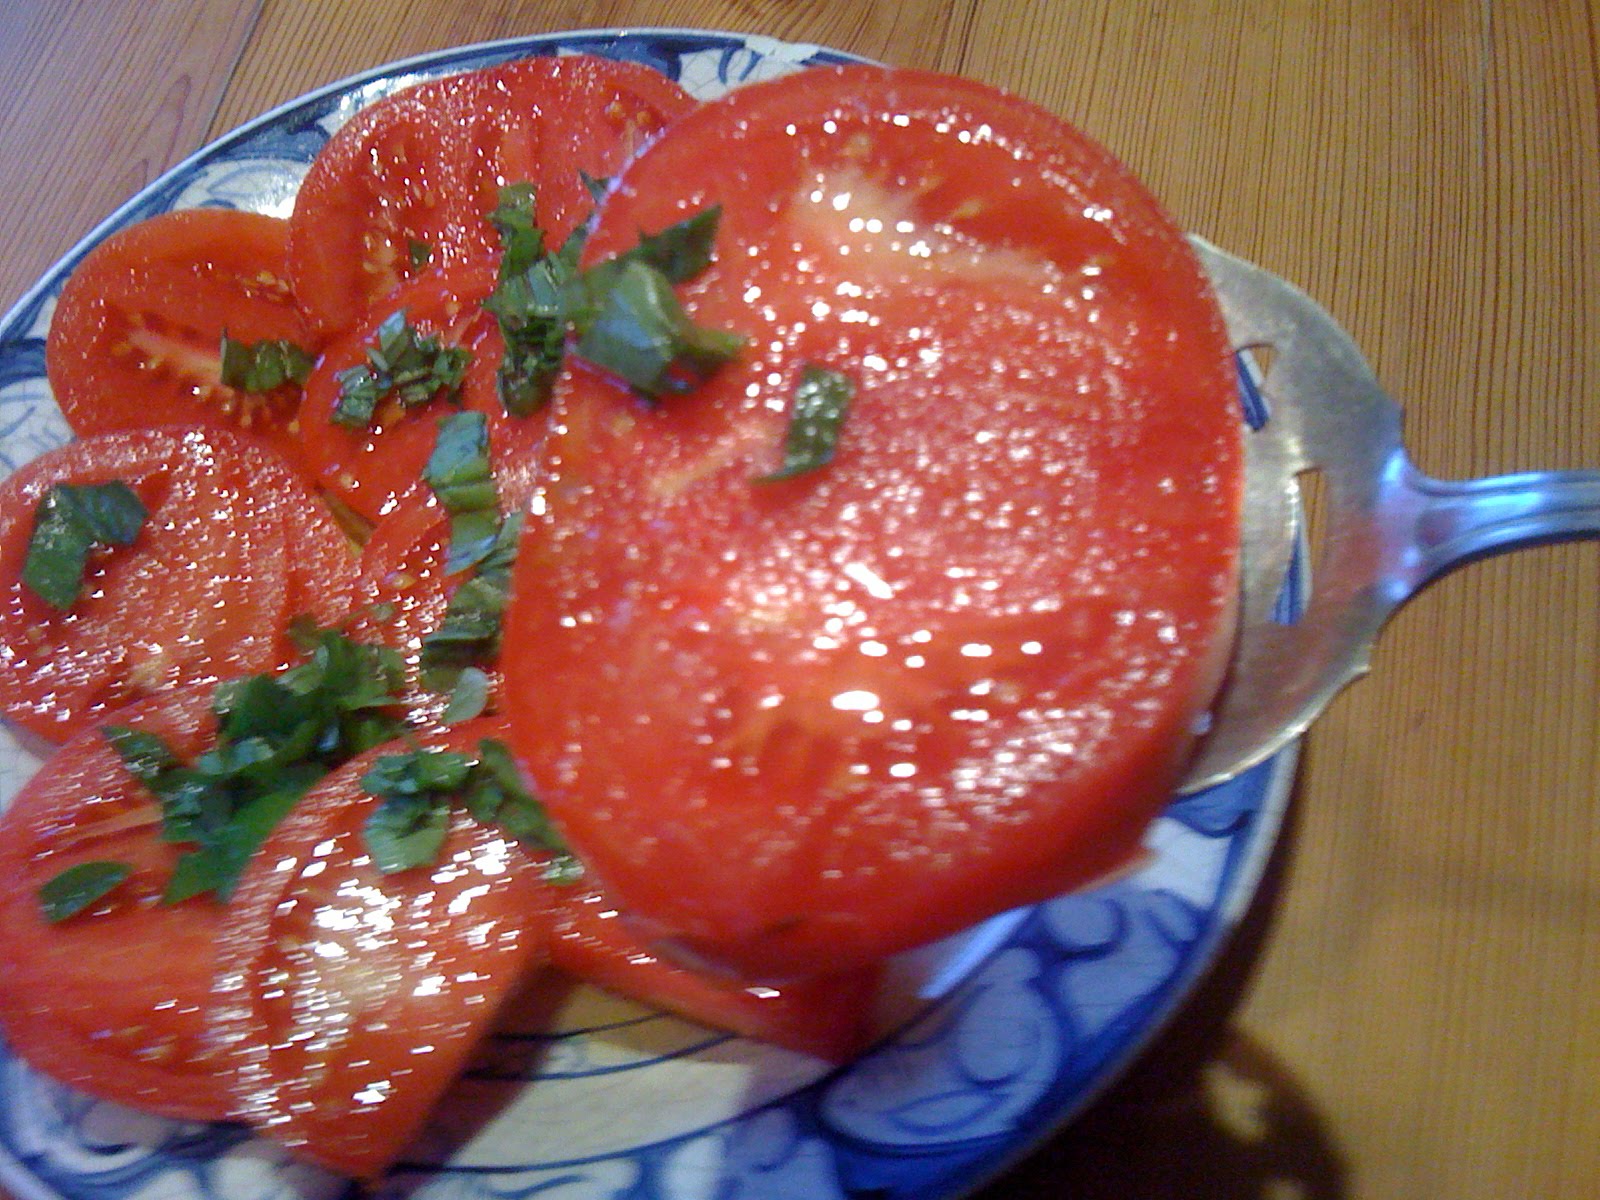
Late Summer Roasted Heirloom Tomato Risotto and Rice Balls
Risotto is one of the simplest and versatile of dishes. And while I provide this recipe as a guide, keep in mind you can make risotto without the white wine, with just onions if you don’t have shallots, with just butter, just olive oil and with many different “add-ins.” To celebrate the end of summer, however, nothing beats ripe, fresh-from-the-vine tomatoes.
1 quart cherry tomatoes, halved or 4 cups tomatoes, quartered
2-3 cloves of garlic, minced
1/4 basil, minced
3 Tbsp olive oil
1/2 tsp salt
1/4 tsp pepper
2-2 1/2 T of butter or olive oil (I use both, 1+ T butter, 1+ T of olive oil)
3/4 cups of a mix of shallots and onions, chopped
(I used 2 shallots and one small onion)
2 cups of Arborio Rice
1/2 cup white wine
8 cups chicken stock
1 cup parmesan cheese
Salt and Pepper to taste
Preheat oven to 350 degrees.
Clean and halve the cherry tomatoes. Toss with olive oil, garlic, basil, salt and pepper. Spread over a baking sheet lined with parchment paper. Roast for 25 minutes.
While your tomatoes are roasting, heat your butter and oil in a large saucepan or risotto pot over medium flame. When butter is melted, add your chopped shallots and onions. Saute for 2-4 minutes until translucent. Then add your arborio rice and stir to coat thoroughly with your butter and oil and then continue to saute for another minute or so. Add your white wine and stir until it is completely absorbed. Next we begin the process that makes risotto creamy. Add a ladle of your hot chicken broth and stir constantly until is is absorbed. Repeat until you have used most, if not all, of your broth; and when your rice is tender but not mushy. At this time, remove from heat, add the parmesan cheese, fold in your tomatoes (which probably came out of the oven 5 minutes or so ago) and serve immediately.
Makes 4 generous dinner servings or 6 side servings.
Risotto Cakes or Balls
(known as Arancini which means small oranges in italian)
2 cups of leftover risotto
2 eggs, beaten
1/2 cup parmesan cheese
1/2 tsp salt
1/4 tsp pepper
1 Tbsp minced parsley
2/3 cup Italian seasoned bread crumbs
1/3 cup corn meal/polenta
2-3 oz. mozzarella diced into 1/4” cubes
Vegetable oil - enough to coat your frying pan with about 1/4” of oil; and to add oil, as needed to fry the rice balls.
Mix risotto, eggs, parmesan salt, pepper and parsley. Blend the bread crumbs and cornmeal together. Mix 1/2 of the bread crumb and cornmeal mixture into the risotto mixture. Place the other 1/2 cup in a bowl to roll your rice balls.
I like to make small, bite-sized balls. Using a teaspoon, scoop a heaping teaspoon and insert a mozzarella cube into middle, roll into ball between your hands to make a tidy ball and then roll into bread crumb/cornmeal mixture. Once done, heat oil over medium-high heat but monitor it as you go. Add the rice balls, cook until golden brown on all sides, remove onto a paper towel to drain excess oil. Serve hot, warm or room temperature and ENJOY!!
Nana’s Lentil Soup
Lentil soup seemed to be an easy and often served soup growing up. Nana always doctored it up with what she had on hand - be it dried salami, pancetta etc. and it was always served with Pecorino Romano cheese. Simple, fast, healthy and delicious.
2 cups lentils, washed and drained
2 1/2 quarts water
1/4 cup dried salami, salt pork, pancetta (or not - tastes better with!!)
3/4 cup chopped carrots
3/4 cups chopped onions
1 clove minced garlic
1 bay leaf
Salt, pepper, parsley - to taste
Grated Pecorino Romano to taste
Place water and lentils in soup pot over medium heat. In another pan, saute dried salami, carrots, onions and garlic for about 10 minutes. Add to lentils with a bay leaf and bring to a boil. Reduce heat and simmer for 45-60 minutes until lentils are tender. Serve with grated Pecorino Roman and ENJOY!
Curried Lentil Soup - my adult yearnings
While I loved Nana’s lentils, I discovered the world of exotic flavors when I went to college and beyond and grew to adore curry. I became addicted to a curried lentil soup at the Sultan’s Kitchen in Boston and have tried to mimic it’s taste. Here’s what I have come up with. I jazz it up with sweet potatoes and swiss chard to pack a complete anti-oxidant punch - and if you love curry - this is addicting soup!!
2 Tbsp olive oil
2 large onion chopped
4-5 minced garlic cloves
1 1/2 tsp garam masala
1 1/2 tsp curry powder
2 jalapeno peppers, seeded and minced
8-10 cups chicken broth
4 cups, sweet potatoes, peeled and cubed
1 1/2 cups french lentils
1 bay leaf
2 cups of sliced swiss chard
1/2 cup minced fresh cilantro
Salt and pepper to taste
In a large soup pot, heat the oil, then add the onions and saute until translucent - 5 minutes or so. Next, add garlic, garam masala, curry powder and jalapenos. Cook until aromatic - about 1 minute. Add 8 cups of chicken broth, lentils and sweet potatoes. Bring to a high heat and boil, and then reduce to a simmer and cover for about 25 minutes. If you like a soupier consistency, this is when you might want to add more broth. Add the swiss chard, and season with salt and pepper and continue to cook for another 20-30 minutes. Once cooked, finish with minced cilantro and serve to your heart’s content and ENJOY!!
Thursday September 23, 2010
Thank you Laura for your insights and newsletter!!
September 21, 2010
Hi all—
Happy autumnal equinox, more or less.
In the fields, it feels exactly like that kind of half-time—we got hit by a fairly substantial frost last night, it took out the watermelon vines, the basil, the second summer squash planting…the tips of the pepper plants, some but not all of the tomato plants…we’re in a bit of a late summer/early fall twilight zone. No matter how great of a run we’ve had with these vegetables, and no matter how appropriate the timing of our first frost, its always a bit shocking, and then melancholy, to be working among the fallen fruits. Mother nature, always the stern reconciler of time.
Now is the time of season when we all start to think about preserving the harvest, putting things up, pickling, canning, freezing, etc. Berkshire Grown runs a series of preservation workshops with local restaurants and caterers. The series is already in progress—
www.berkshiregrown.org for details on upcoming workshops.
Speaking of the changing landscape, we’ll be changing our distribution hours on Tuesdays starting the first week in October (2 distributions from now)—we’ll be wrapping things up at 6 pm instead of 7, because it will be dark by 7. We’ll remind you copiously between now and then. Saturday hours will remain the same.
If any of you have a build-up at home of the pint and quart containers that you’ve been using for the cherry tomatoes, bring them in--we will definitely re-use them
We’re still looking forward to lots of kinds of winter squash, turnips, broccoli raab and beets and carrots. If any of you have fun, easy recipes or preparation suggestions for these veggies, send them along!
Enjoy the harvest this week.
--Laura Meister, Farm Girl Farm Farmer
Monday September 20, 2010
Basking in the afterglow of a great time with the news team from Albany's NBC affiliate - WNYT - Newschannel 13 - Dan Bazille and Tim Drawbridge!!
[youtube=http://www.youtube.com/watch?v=bfudby5gaRs?fs=1]
Here's the recipe:
Jo’s (my Mom’s) Apple Torte
Our family loves cheesecake and we love apple pie. So way back when, my Mom who tends to be pie crust challenged, decided to do away with the frustration of a rolled pie dough and combined her cheesecake acumen with apples to create the simplest and most delicious winner. Try it - it will impress your friends and your taste buds!!
Crust
1 cup flour
1/3 cup sugar
1/2 tsp vanilla
1 stick butter, chilled and cut into small pieces
Cream Cheese Filling
2 - 8 oz. packages of cream cheese at room temperature
1/2 cup sugar
1 tsp vanilla
2 eggs at room temperature
Apples
2 large tart apples such as Granny Smith - peeled, cored and sliced
1/4 cup sugar
1/2 tsp cinnamon
1/2 tsp vanilla
1/3 cup chopped walnuts
Preheat oven to 350 degrees.
Combine flour, sugar, vanilla in a bowl and then cut in the butter until the mixture resembles coarse meal. Press into bottom and up about 1” of the sides of a 10 inch springform pan. Bake for 5 minutes, cool to room temperature.
Increase oven temperature to 450 degrees.
Beat cream cheese, sugar and vanilla with an electric mixer until smooth. Beat in eggs, one at a time. Spoon mixture into crust.
Mix apples sugar, cinnamon and vanilla. Spoon over cream cheese mixture and then sprinkle with walnuts.
Bake for 15 minutes and then reduce heat to 350 degrees and bake another 45 minutes until your tester comes out clean. Cool on a rack and then carefully remove sides of springform pan. When completely cool, turn upside-down, remove bottom of pan, place plate on top and flip over. And ENJOY!!!