Monday June 14, 2010
Pasture to Palate
As usual, I am a moving target. Just returned from an installation for one of my interior design clients in Pelham, NY. ......
But what I really want to share is my weekend at Shelburne Farms, VT attending a cheddar cheesemaking seminar with the head cheesemaker, Nat Bacon.
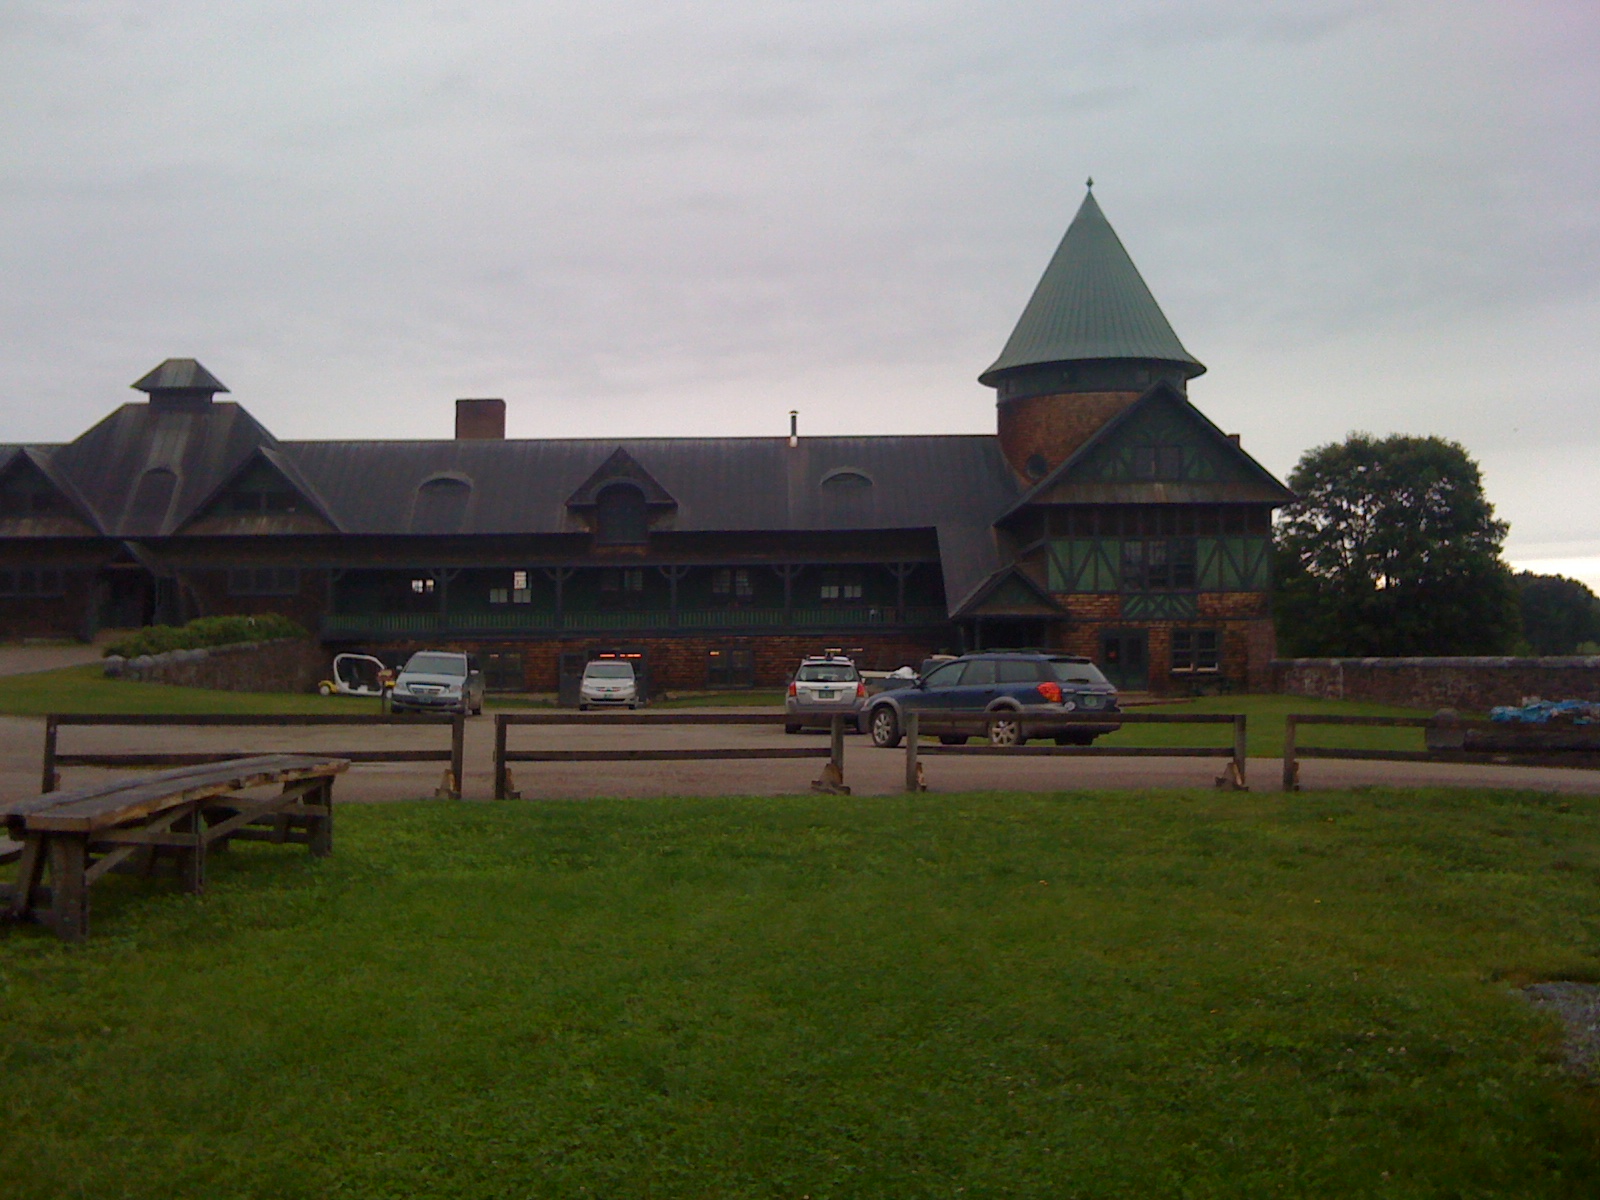
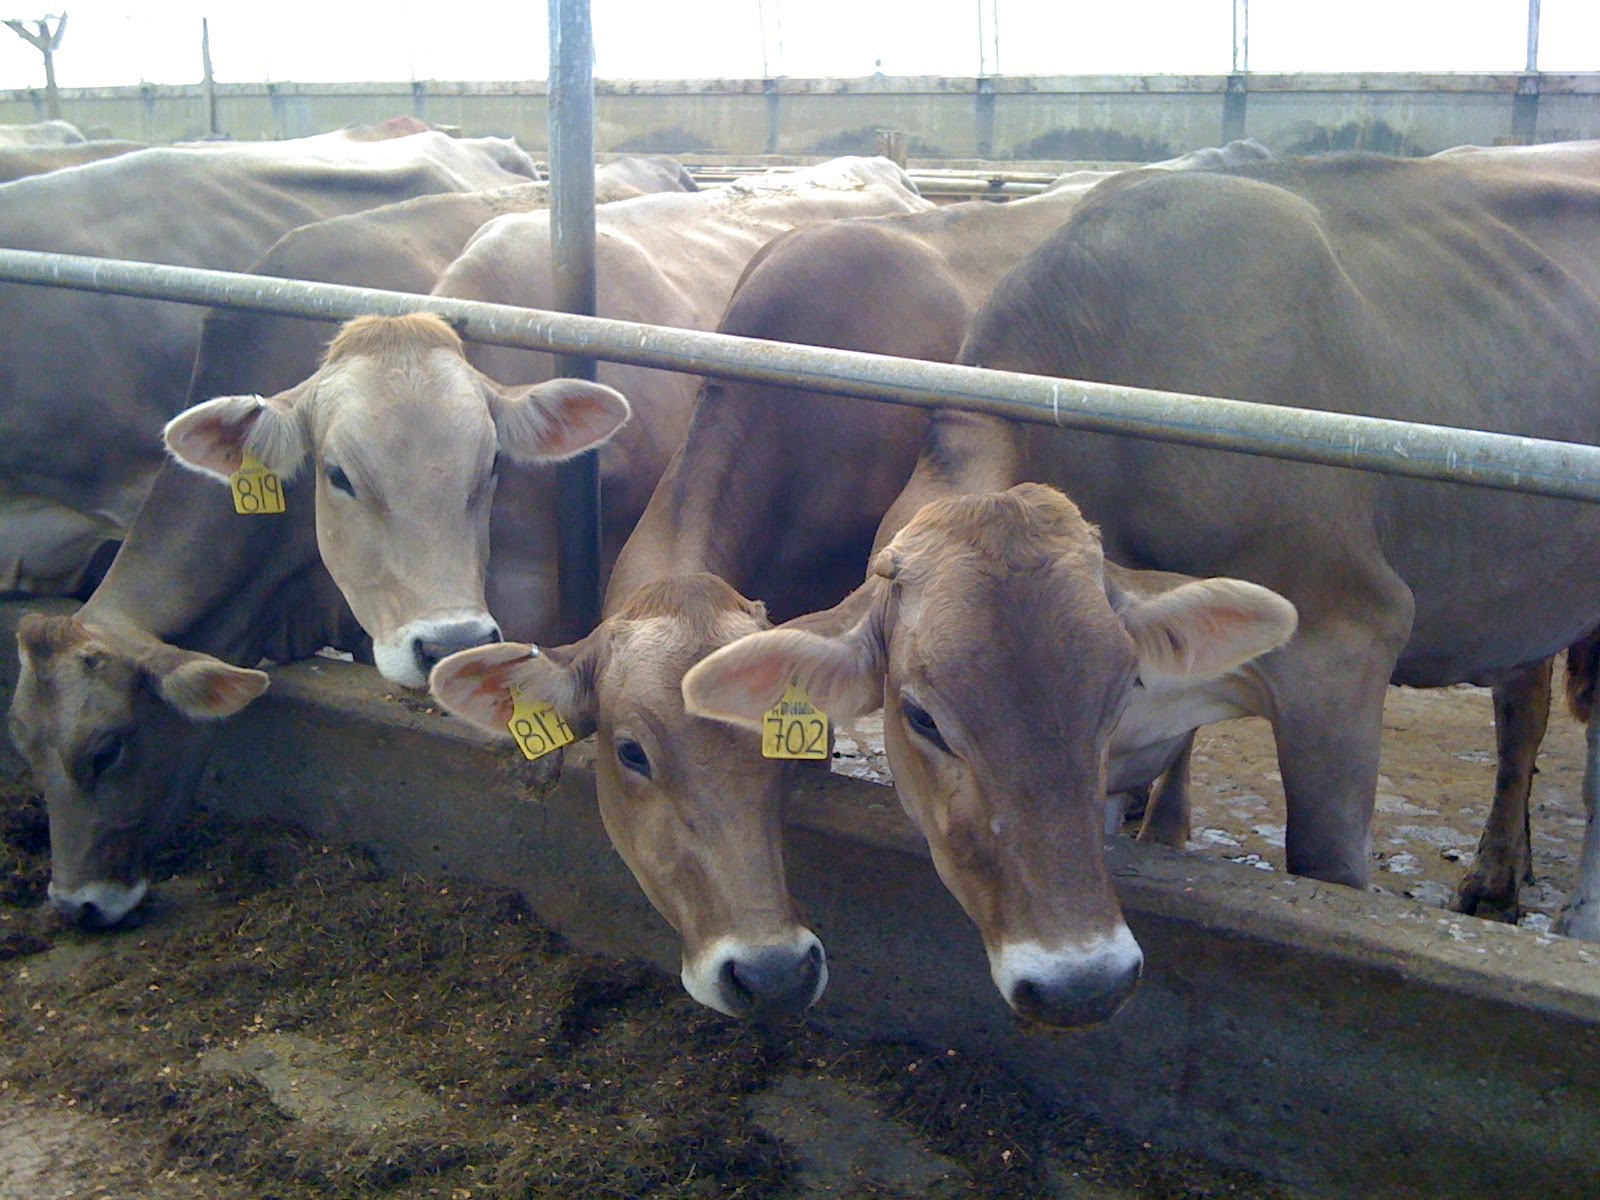
Shelburne Farms "was created as a model agricultural estate in 1886 by William Seward and Lila Vanderbilt Webb. In 1972, it became an educational nonprofit. Our nearly 400 acres of woodlands are Green Certified from the American Tree Farm System. Our grass-based dairy has 125 purebred, registered Brown Swiss cows. Their milk is transformed into our award-winning farmhouse cheddar cheese here on the property."
We began our day with a full tour of the grounds.

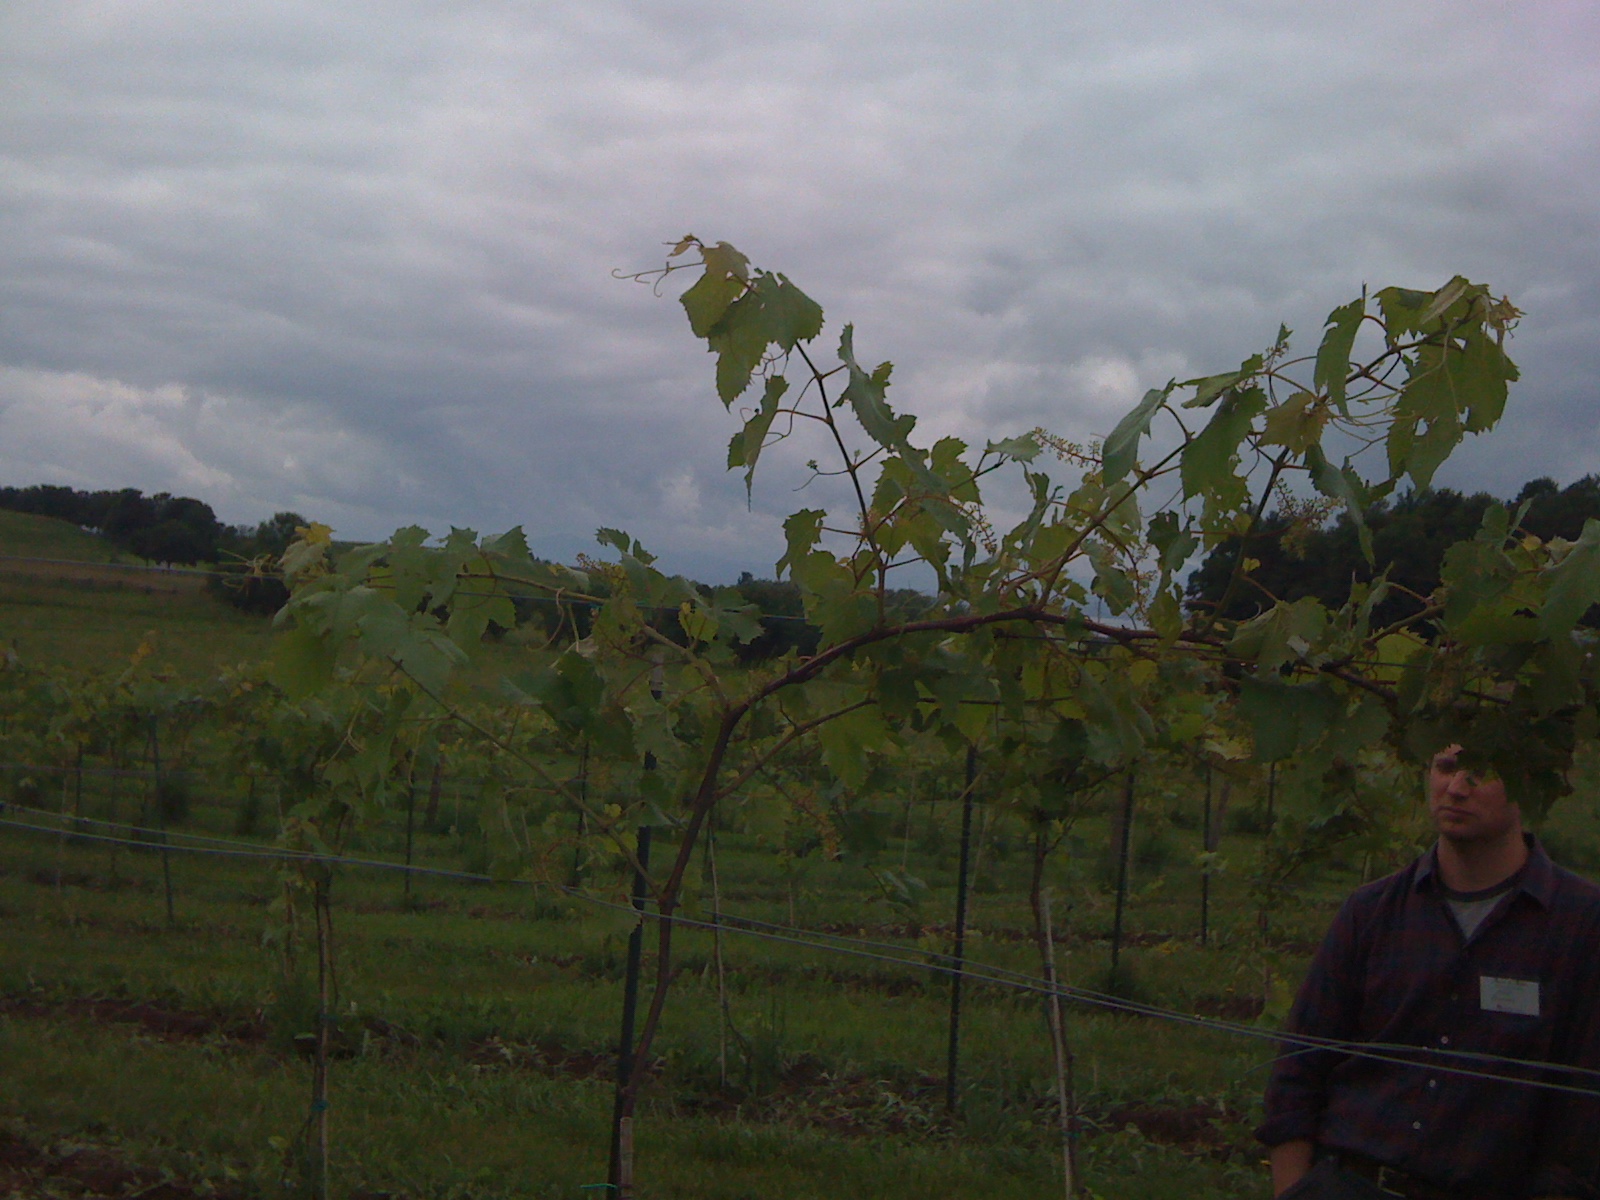
And Nat Bacon and Marshall Webb shared tons of information on sustainable farming techniques, the importance of soil management and grass-growing. I felt like I was living Michael Pollan's Omnivore's Dilemma upfront and personal. The cleanliness of the barns and the care taken in managing every aspect of the farm was truly inspiring. A true biodynamic farm.
And why is this so important? Well, the cows eat the grass which in turn produces healthy cows and milk full of nutrients. The milk is then turned into cheese. And the cheesemaking process is indeed fascinating.
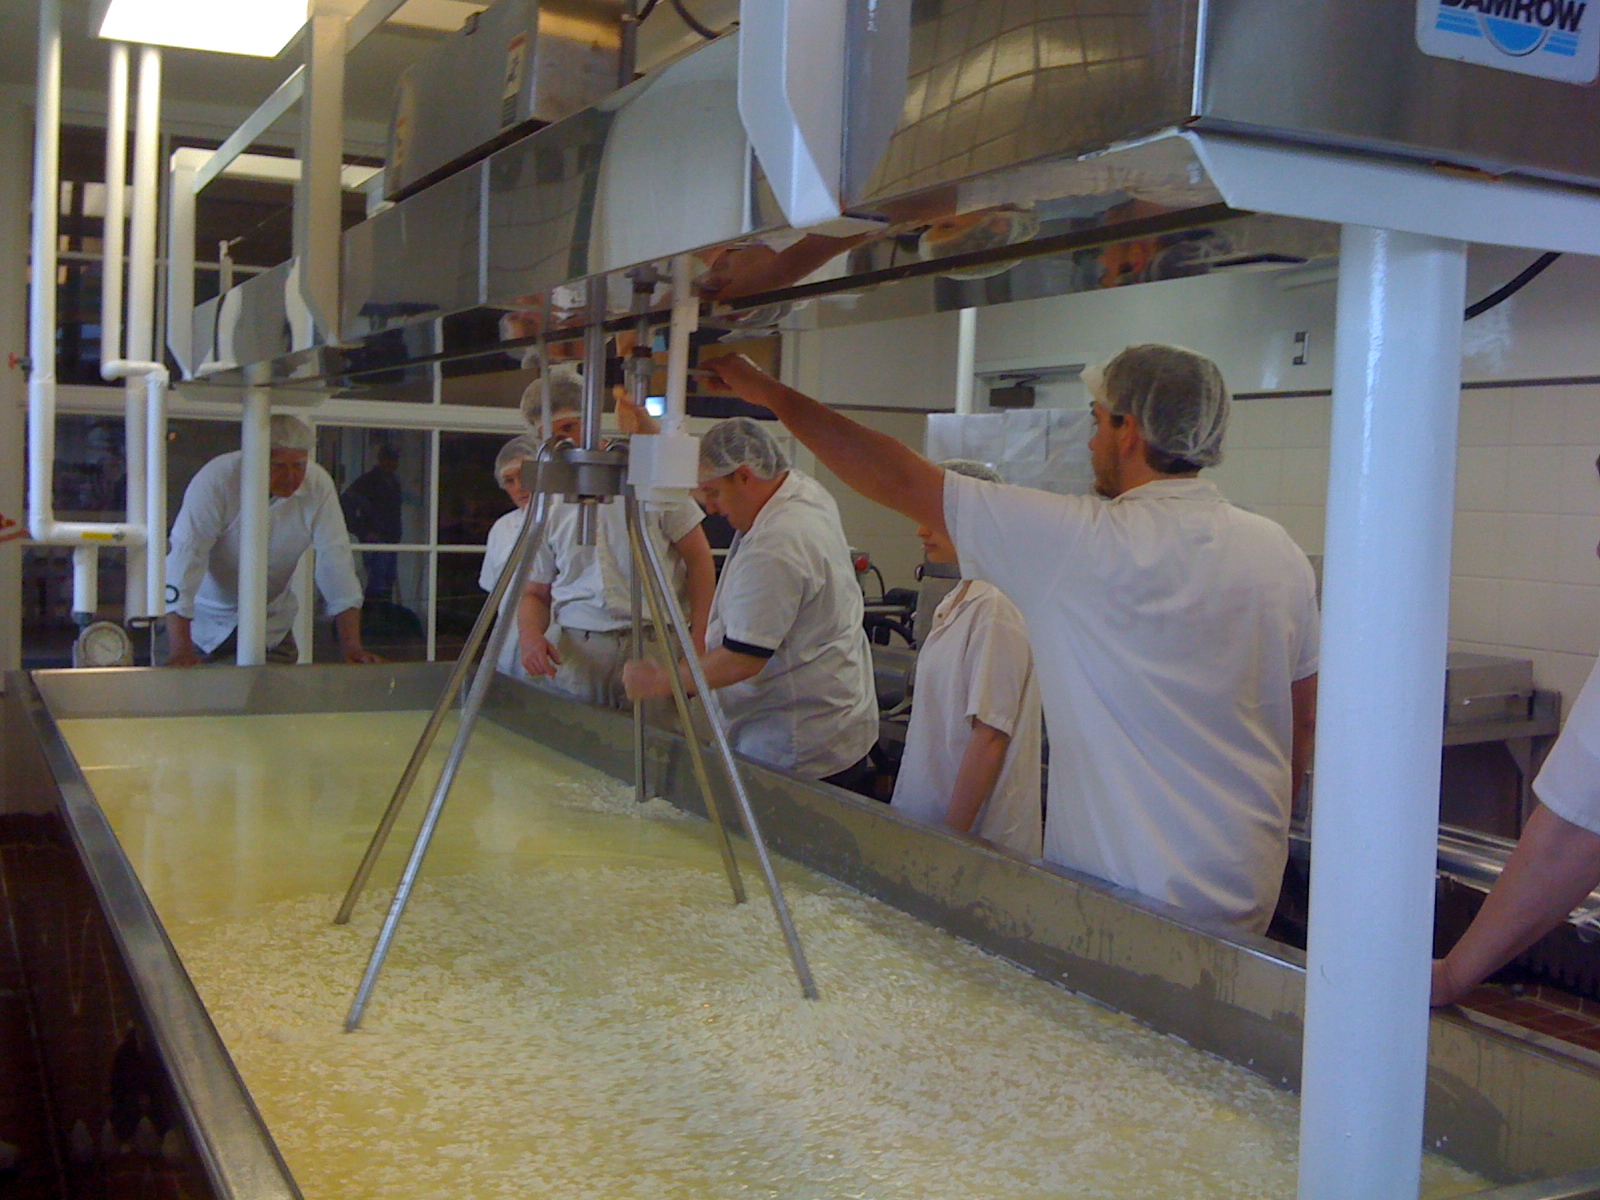
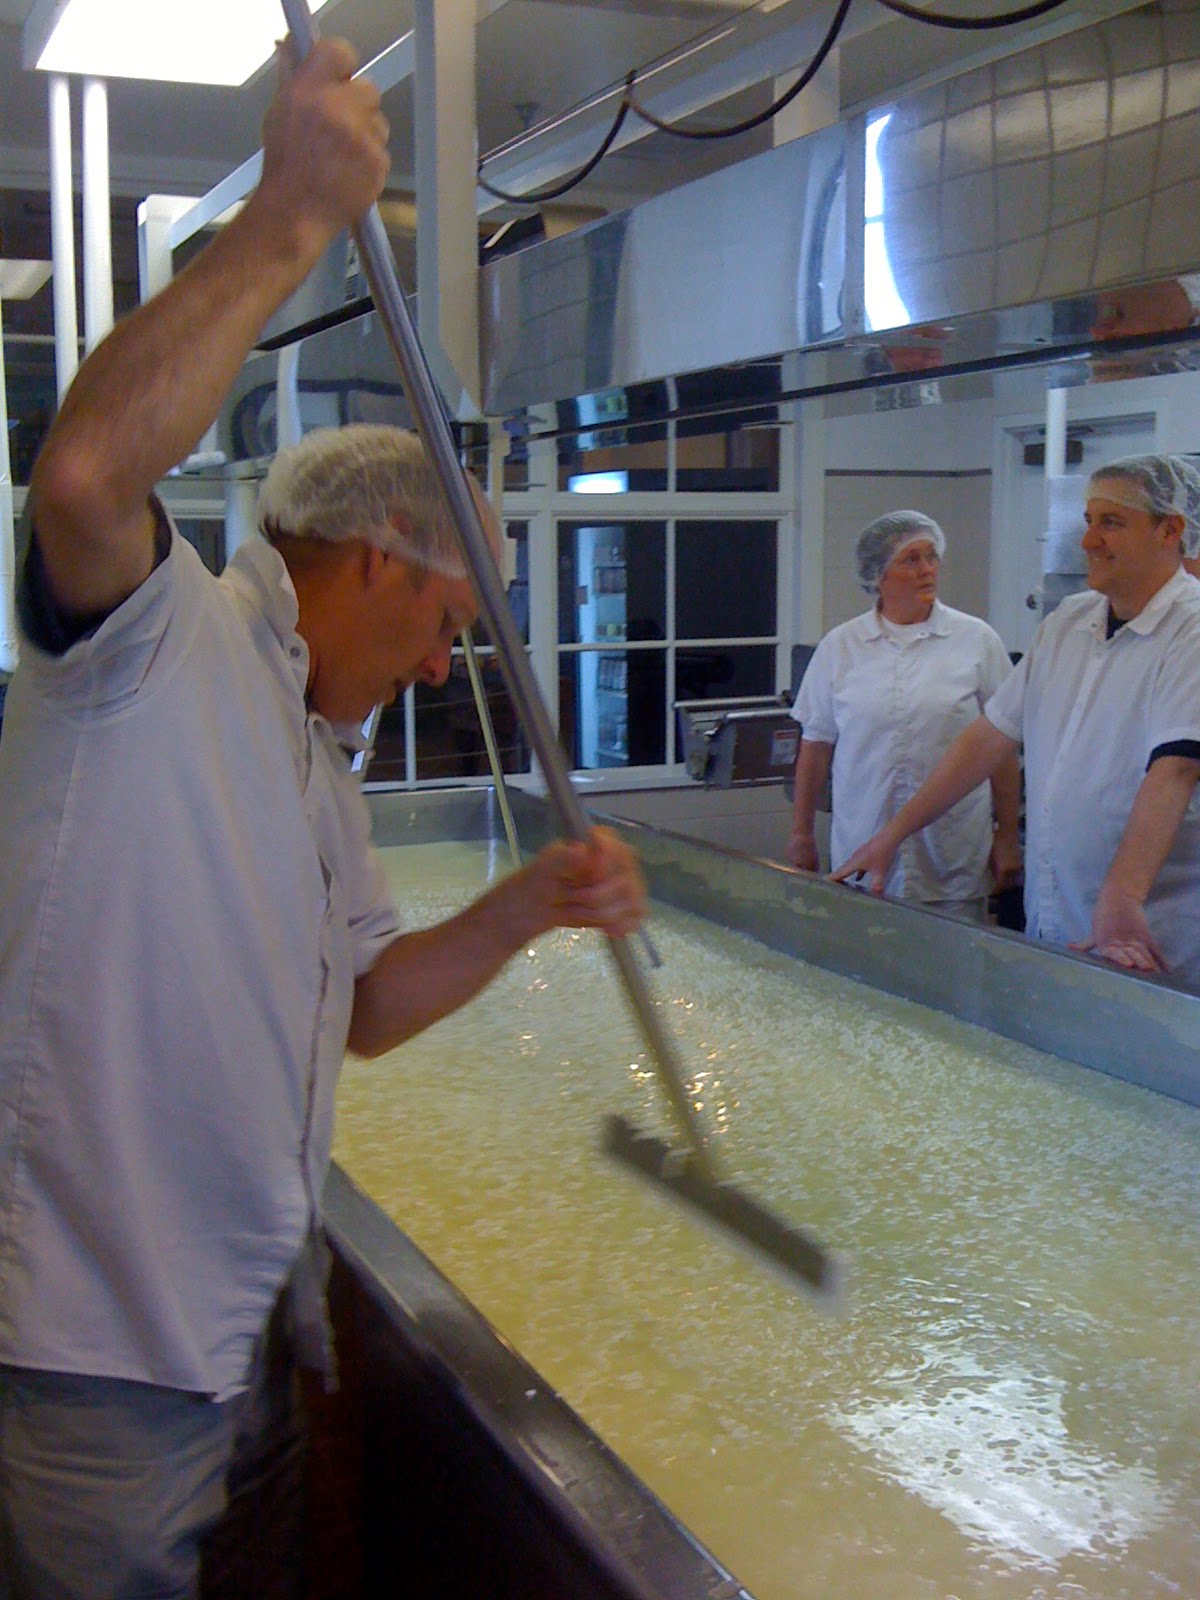
It all begins at 8.30 am with the delivery of the milk from the freshly milked cows, then the milk is heated up and the large stirring paddles are started. At various times and specific temperatures, a culture and then an enzyme are added, and then you wait. Patience is a cheesemakers' virtue. And then, in a frenzy of activity, the curds and whey need to be separated. And then the "cheddaring" begins. Did you know cheddaring is actually a verb? An action very specific to making cheddar cheese.


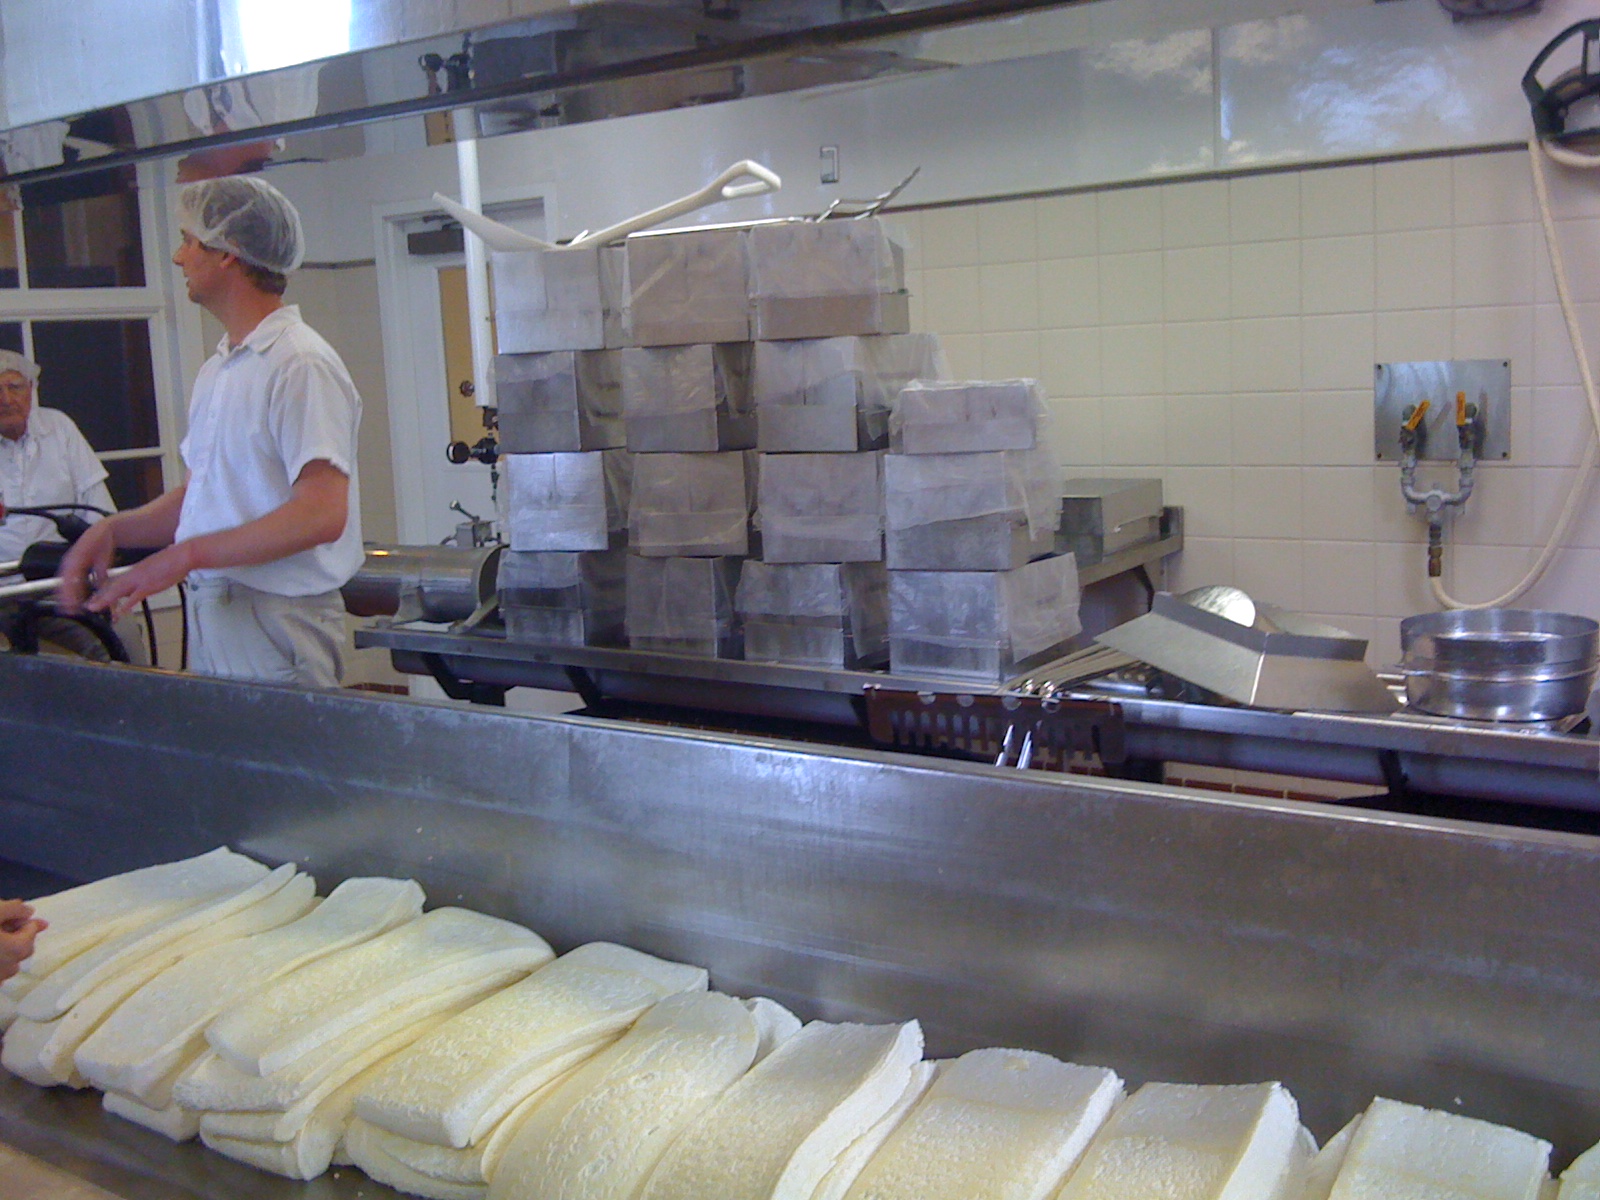
Cheddaring is a process of letting the curds settle into each other while the acidity rises and when each of those rectangles is picked up and turned several times until a desired acidity is achieved. Then they are chopped up and salted in a three step process, and then placed into molds and pressed overnite. The entire process ends around 4 pm producing around 550-600 pounds of cheese. This process is repeated each day during the peak cheesemaking season or for 250 days or so.
Eating farmstead artisanal cheddar has a whole new meaning. I relish every bite and crave more!!
Monday June 07, 2010
After a busy week of prepping and executing the Close Encounters event, we are turning all of our focus back to getting Heirloom Meals funded for its PBS debut.
Today we are heading into New York City for the premier of Country Living Magazine and New World Home's New Old Green Modular Homes on display at the World Financial Center. We are looking forward to consulting with the modular company about designing the kitchens and providing cooking demos for other model homes mostly because their mission to incorporate heirloom architecture with modern, sustainable technology is completely in-line with our own lifestyle philosophies!
Later on in the week we will be launching Heirloom Meals onto the Kickstarter website which provide grassroots and community based initiatives a platform to receive funding from viewers (known and unknown!) and a chance to offer rewards for donations given. (http://www.Kickstarter.com) There is a time limit, however, for how long projects are allowed to request donations so we are committed to keeping everyone highly informed about the where, when and how once Heirloom Meals is released on Kickstarter.
Finally, we are fortunate to have attracted a whole range of guests for Heirloom Meals Radio for the summer months ahead and we thank them all for being excited and supportive of our project. Heirloom Meals really comes alive in the studio when guests are able to give a voice to their food history and memories for others to listen and relate to. No doubt that a television show would provide us with many other interviewing possibilities but the radio show, for now, is a definite favorite.
Sunday May 09, 2010
Heirloom Manicotti
When I think of Mother’s Day there is a recipe that comes to mind that has been handed down from my great grandmother to my grandmother to my mother to me. This is the essence of heirloom meals - savoring yesterday’s traditions today.
My featured recipe is manicotti and for all of you who speak phonetically, M-A-N-I-C-O-T-T-I. When I was little I pronounced it manicotti (pronounced in Italian) and most of my friends had a quizzical look on their faces – So I have gotten into the habit of saying it two times – like Tony Two times form the God Father. Manicotti (MANICOTTI) – get it!! I am sure most of you have had manicotti –thinking large tubular noodle stuffed with ricotta (pronounced Italian style) R-I-C-O-T-T-A – there’s Tony Two times again!!
Well my family recipe will transform your idea of manicotti forever!! This is our recipe for heavenly light crepes - fill them with luscious ricotta filling and finish with some sauce - the best!!
Manicotti Crepe Recipe:
This recipe makes 80 crepes but can easily be halved or quartered. This dish is such a family favorite we usually make all 80 and freeze some for another time.
12 large eggs
4 cups of flour
4 cups of water
8 Tablespoons of melted butter (cooled)
Beat eggs, flour and water until smooth, then add the melted butter. Cover batter and refrigerate overnight.
I happen to be lucky enough to have my grandmother’s well-seasoned caste iron crepe pan, but a non stick crepe pan will do as well. Using a well-seasoned crepe pan or non-stick 5-6" frying pan, heat on low-medium flame, brush pan with canola oil or melted butter. (I usually do a tester before I really get started to make sure pan it hot enough etc.) Then ladle the batter into the pan and swirl it so it spreads into the entire surface. Cook until the edges start browning and top seems dry. I use a fork but a spatula would do the trick as well to loosen the edges. Then flip the crepe and let it cook for a few seconds. (I find this is a feel sort-of-thing - you just can tell when it's ready!!) You can make these up to three days ahead.
Ricotta Filling
6 lbs Ricotta
4 eggs
2 lbs mozzarella, cubed
Romano cheese, salt, pepper and parsley to taste
Milk (to adjust the consistency)
Mix all ingredients except milk. We want it to be thick, not runny.
Assembly
And now the assembly…oops….what about the sauce??? Truly you can use any sauce – your own, a jar of Rao’s Homemade. We are biased, we use our own. Our secret for this particular dish are making tiny meatballs!! Our sauce and meatball recipe will have to be another show.
Take a crepe and spread ricotta mixture in center, fold one edge over the other and place in baking dish that has some sauce spread lightly over bottom. Repeat. We recommend only one layer as it is easier to serve.
Bake at 350 degrees for 20-30 minutes. And remember they must settle for at least ten minutes before serving or you will have a runny mess - still delicious but not pretty!!
Enjoy!!
Monday March 29, 2010
Part 2 of the Asparagus Risotto demo. Click the photo to watch the show.
Sunday March 28, 2010
Part 1 of the Asparagus Risotto Demo. Click the photo to watch the show.
Sunday March 28, 2010
Early Spring Asparagus Risotto
Risotto is one of the simplest and versatile of dishes. And while I provide this recipe as a guide, keep in mind you can make risotto without the white wine, with just onions if you don’t have shallots, with just butter, just olive oil and with many different “add-ins.” To celebrate spring, however, nothing beats the great asparagus.
1 bunch asparagus, cut into 1 inch pieces
4 cups water
2-2 1/2 T of butter or olive oil (I use both, 1 T butter, 1+ T of olive oil)
1/2 - 3/4 cups of a mix of shallots and onions, chopped
(I used 2 shallots and one small onion)
2 cups of Arborio Rice
1/2 cup white wine
4 cups chicken stock
3-4 cups of the asparagus water
1 cup parmesan cheese
Salt and Pepper to taste
Clean and cut the asparagus into 1 inch pieces. I like to cut them on the diagonal. Blanch the asparagus for a minute or so and remove from water. Keeping the warm water to add to the risotto. Heat the chicken stock and asparagus water to a near boil and keep warm.
Heat your butter and oil in a large saucepan or risotto pot. When butter is melted, add your chopped shallots and onions. Saute for 2-4 minutes until translucent. Then add your arborio rice and stir to coat thoroughly with your butter and oil and then continue to saute for another minute or so. Add your white wine and stir until it is completely absorbed. Next we begin the process that makes risotto creamy. Add a ladle of your hot chicken broth and stir constantly until is is absorbed. Repeat until you have used all your broth and most, if not all, of your asparagus water. And when your rice is tender but not mushy. At this time, remove from heat, add asparagus, then add parmesan cheese, salt and pepper to taste and serve immediately.
Makes 4 generous dinner servings or 6 side servings.
Some fun facts about asparagus:
- Asparagus is a member of the Lily family.
-
Asparagus spears grow from a crown that is planted about a foot deep in sandy soils.
-
Under ideal conditions, an asparagus spear can grow 10" in a 24-hour period.
-
Each crown will send spears up for about 6-7 weeks during the spring and early summer.
-
The outdoor temperature determines how much time will be between each picking...early in the season, there may be 4-5 days between pickings and as the days and nights get warmer, a particular field may have to be picked every 24 hours.
-
After harvesting is done the spears grow into ferns, which produce red berries and the food and nutrients necessary for a healthy and productive crop the next season.
Source: Michigan Asparagus Advisory Board
Page 11 of 14 pages ‹ First < 9 10 11 12 13 > Last ›