Friday September 17, 2010
Today - it's all about sharing my pie recipe testing for Gina Hyam's Pie Contest in a Box. My friend Karen Lee came over to test "Grandma's Brown Sugar Pie". So here's how it went (the recipe will be at the end of this post):
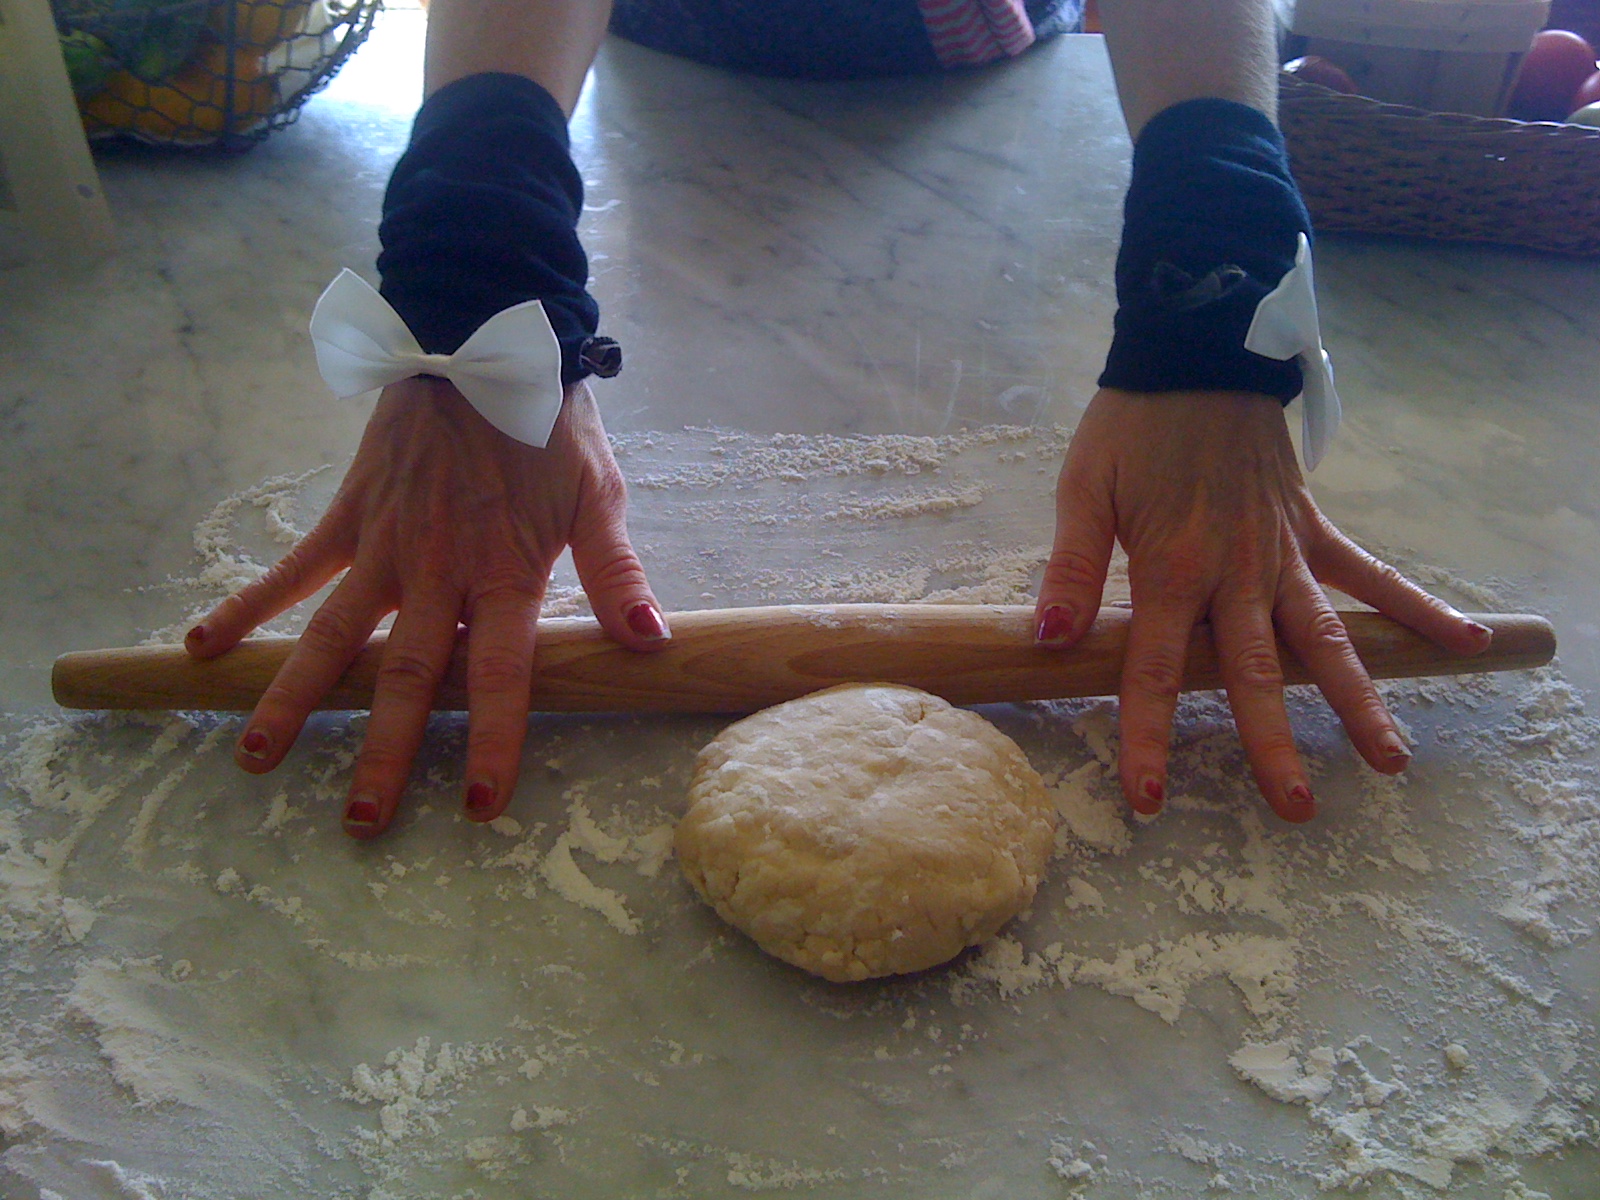
The first task was to make the pie crust. According to the recipe I need 1/3 tsp salt. Now mind you, I am well-stocked in the kitchen gadget realm and finding a measuring spoon with a 1/3 tsp was not happening. For many, this would create a problem - it's obviously a little more than 1/4 and a little less than 1/2. If the crust doesn't seem to come out right - one might worry that they put in too little or too much. Next, the crust requires LARD. While I am a purist and love to use heirloom ingredients, I know LARD is not something you can just run out the grocery store and find. I would suggest an alternative if you can't find LARD.
The directions for making the crust were good. I am not sure most people would understand "smear" - I would elaborate: "use the heel of your hand to smear the dough against the side of the mixing bowl several times. This smearing action will create a multitude of small layers in the dough, causing to act almost like a puff pastry; the result will be a light, fluffy dough, rather than a dense, heavy one."
I think you should pre-heat the oven when you are rolling out the pie dough.
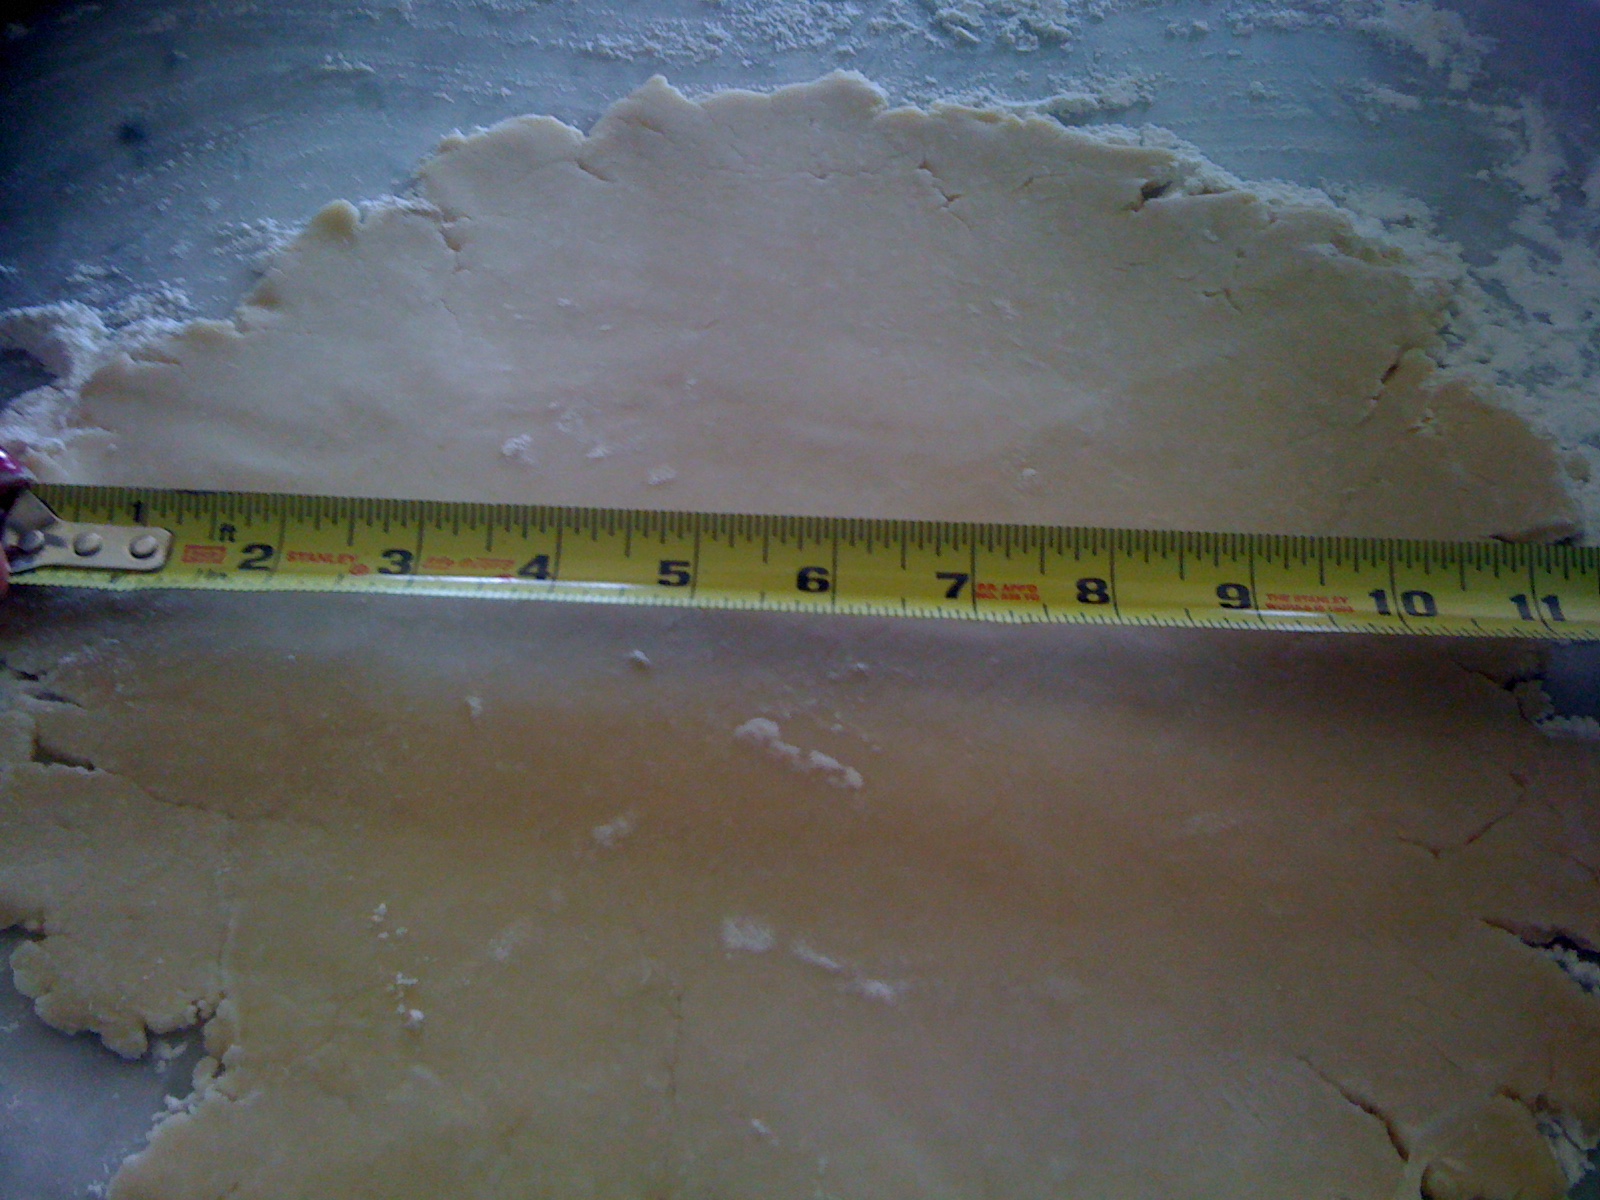
We found that the pie dough should be more like 11-12" round to amply flute the edges.
If you use a old-fashioned pyrex dish that isn't rated to go from fridge to oven - I'd be careful about chilling the crust before placing it in the oven.
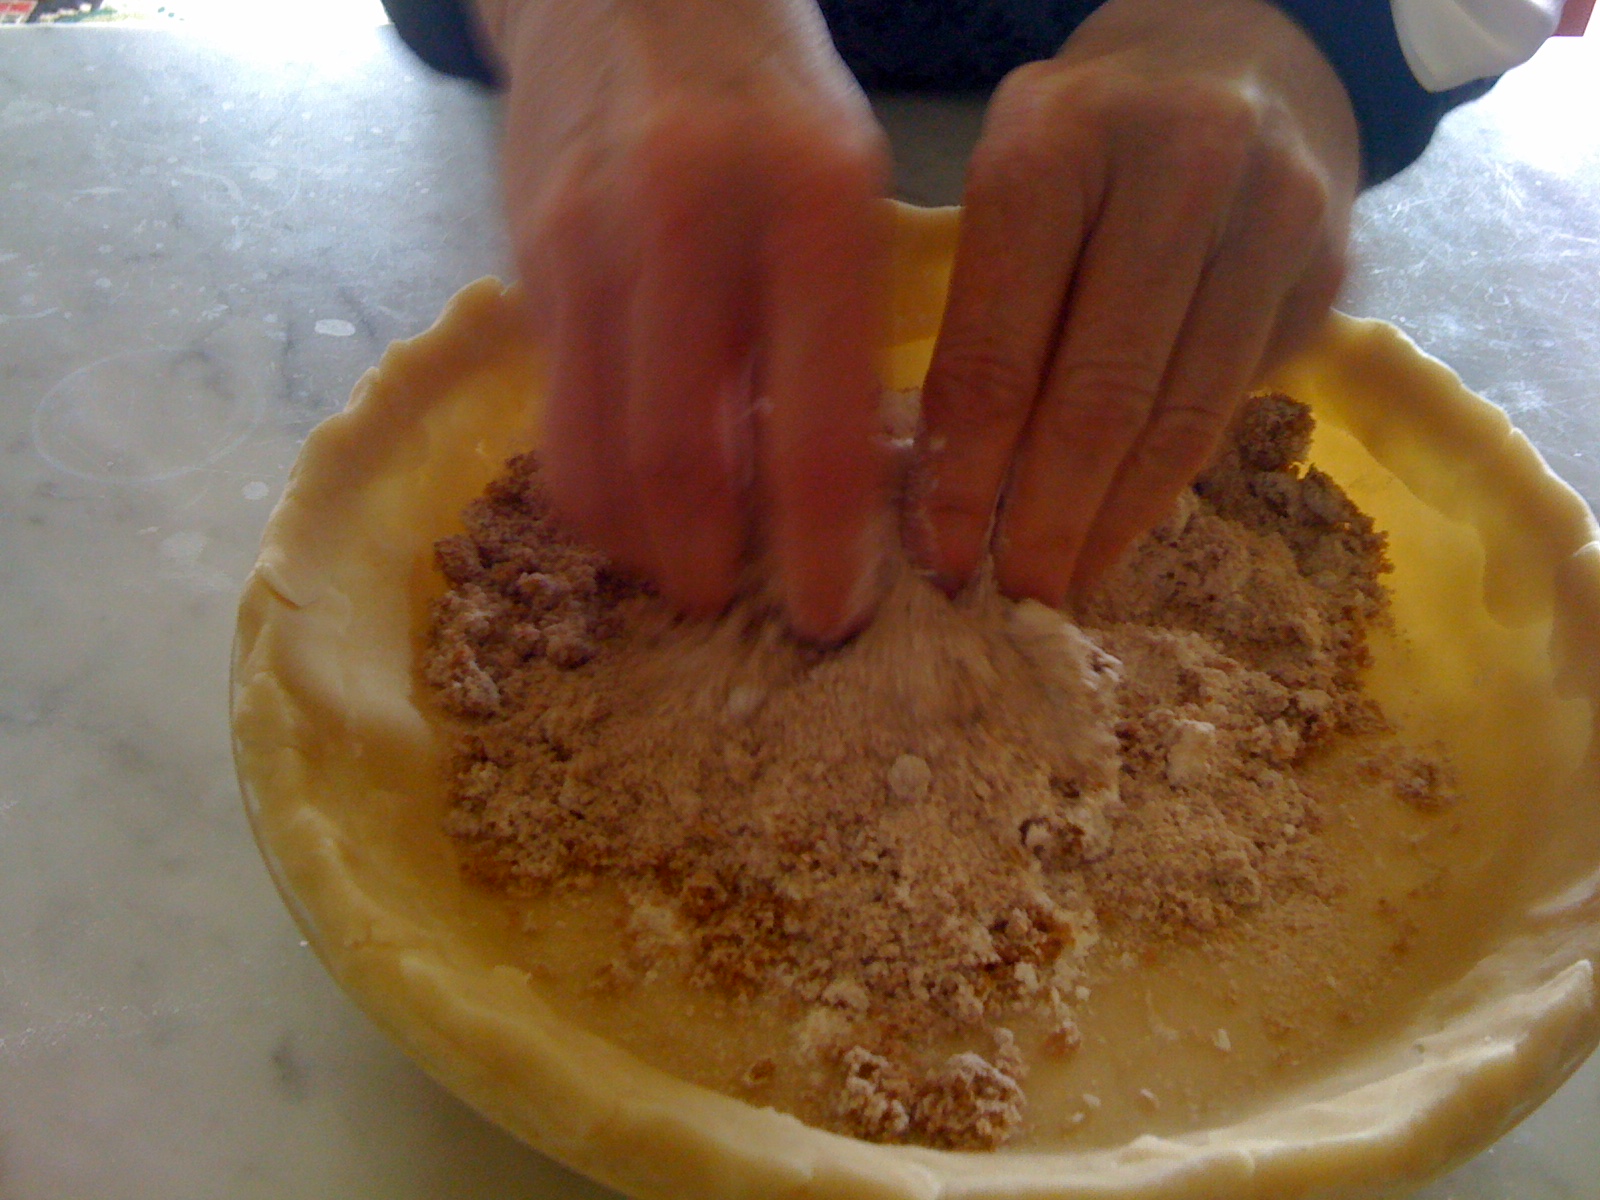
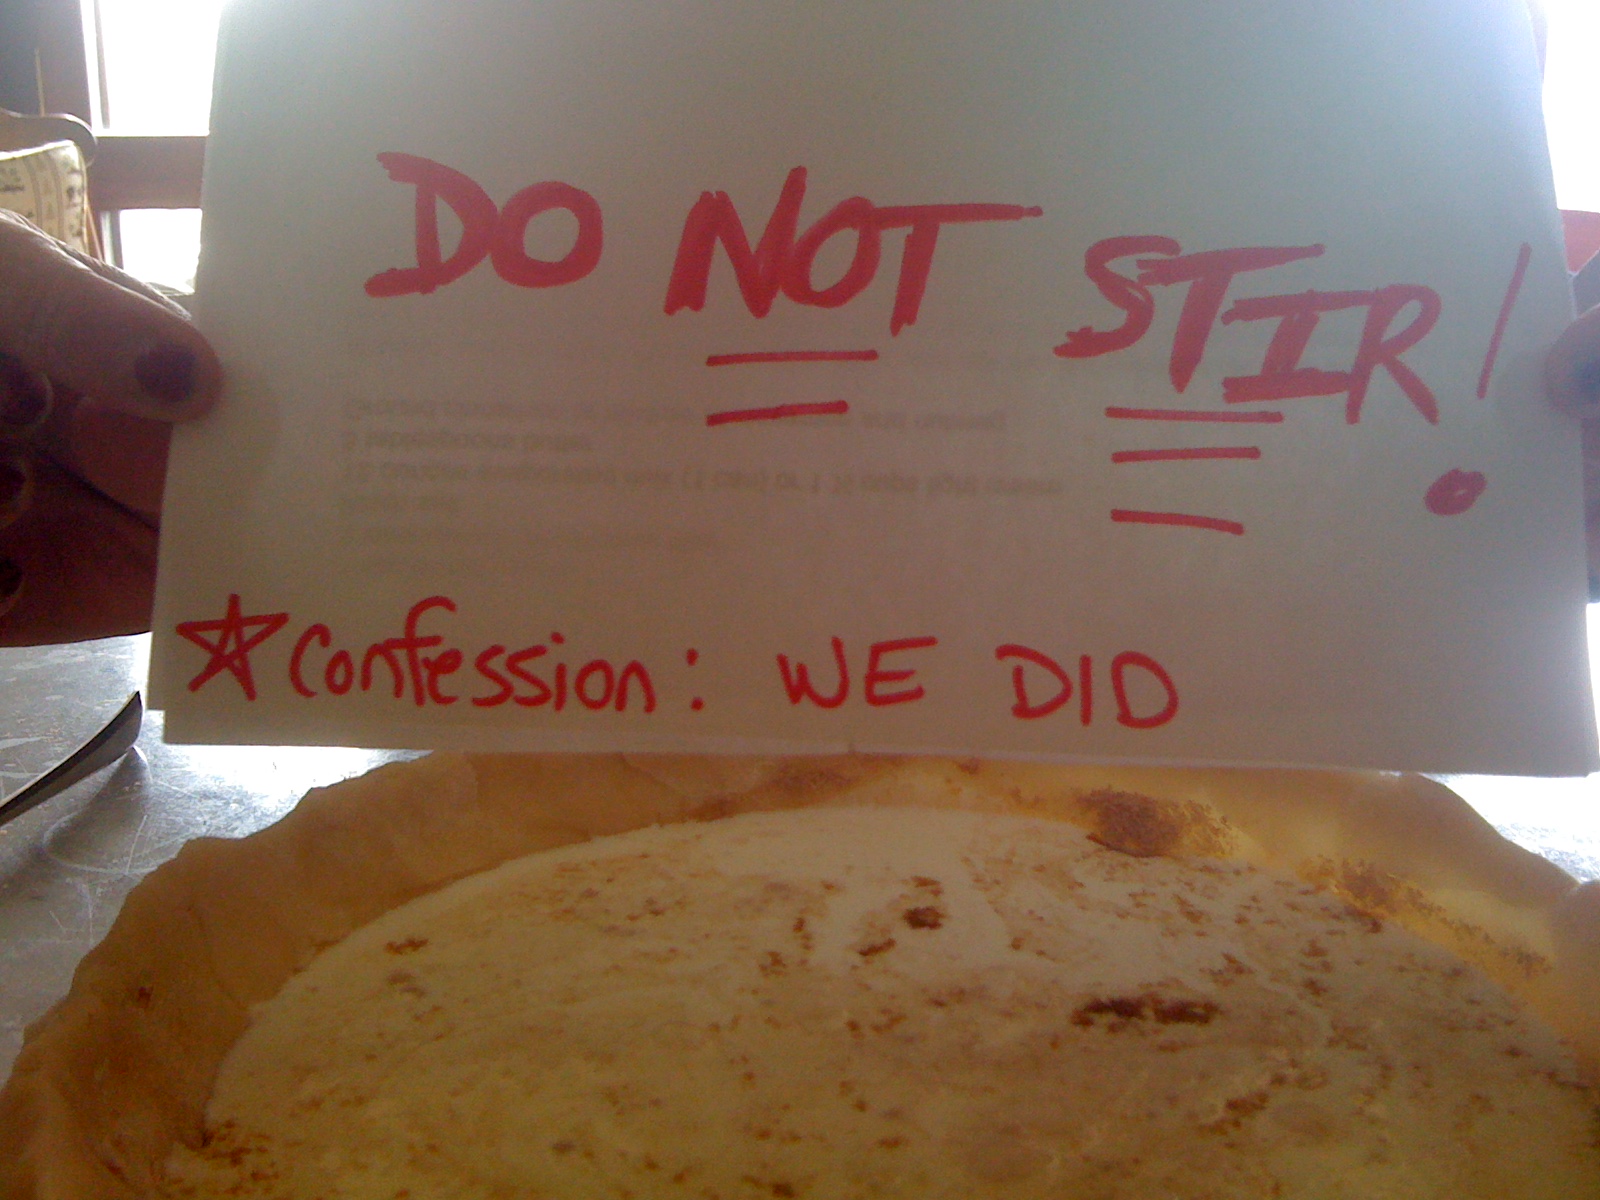
We didn't like the looks nor the ingredients in the evaporated milk so we opted for the light cream because it is fresh!! And Karen jumped ahead and stirred the mixture ever-so-slightly until I read DO NOT STIR!! Oops - and will this be a problem?? Karen felt the need to stir because it wasn't clear that the brown sugar mixture should be "evenly" distributed - perhaps adding "evenly" would help.
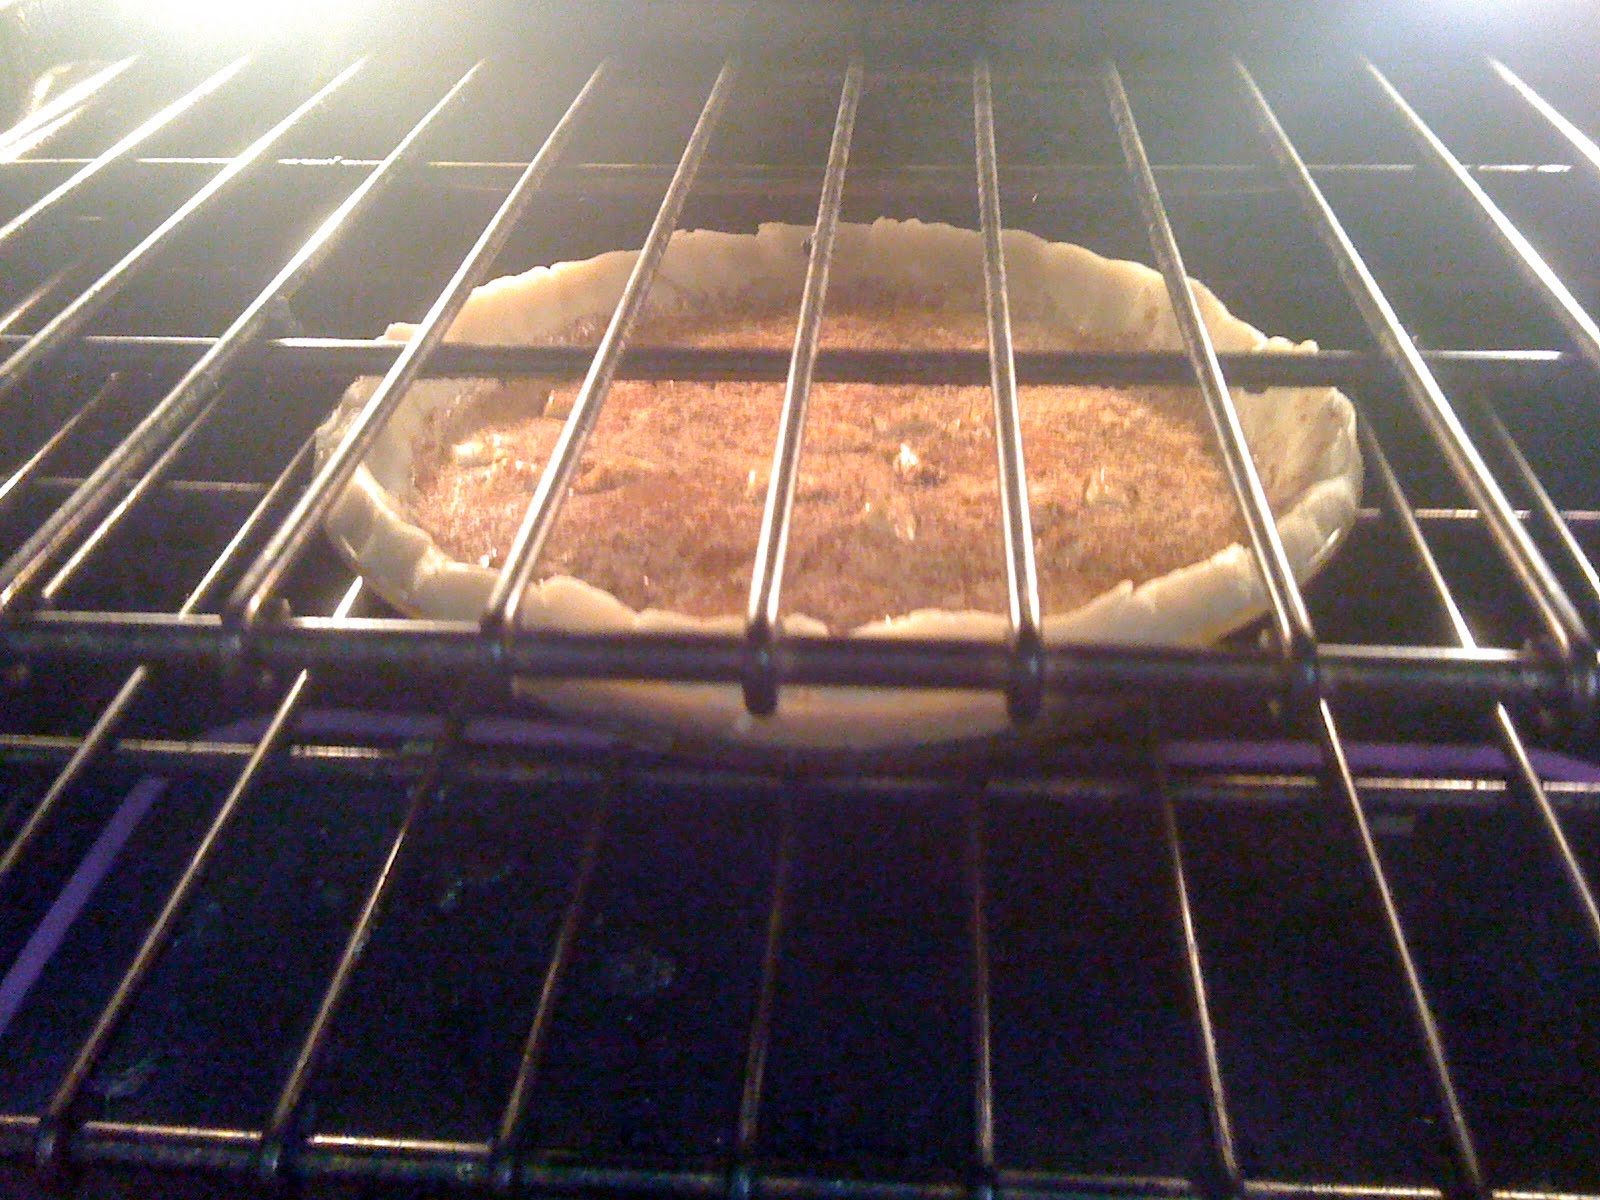
We sprinkled nutmeg and cinnamon, but really - how much? We covered it but not densely - we weren't confident.
And, to the oven it went - but alas - where - middle? bottom? in-between? We went for the middle.
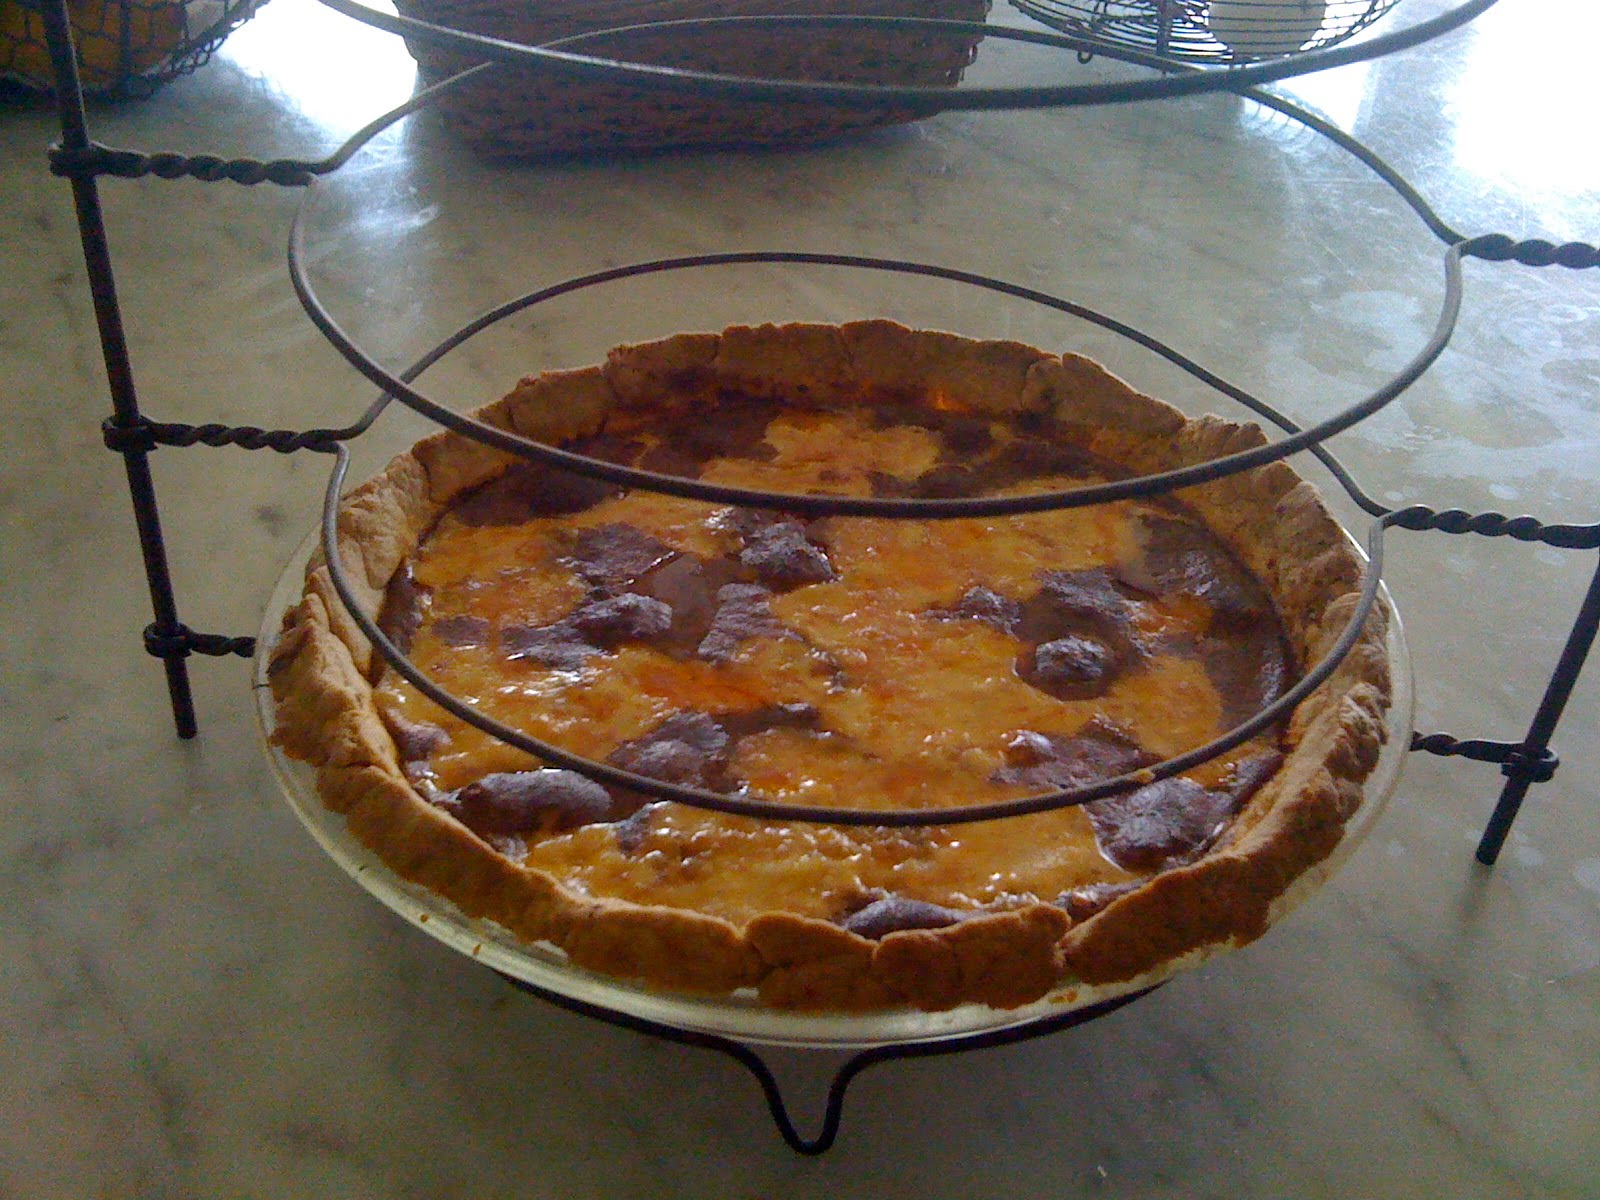
I'm no pie judge but the finished product was not satisfying. We were bummed!!
On the flip side - pie really does equal peace as Karen and I had a great 1+ peaceful hour together - mixing, chatting, giggling - so in my book - making pie is a bast and should be done with friends and family and served with love and laughter!!
Thank you Gina for the opportunity and Karen for the company!!
And on second thought - I am not sharing the recipe until the changes are made....
Thursday September 16, 2010
Melons and Farm to Table thoughts by Laura Meister. This is by far one of Laura' best newsletters in my humble opinion. Thank you Laura!!
September 14, 2010
Hi all—
I was a city girl. More accurately, I was a suburb girl, and in terms of understanding food, I’d say this is actually much more of a handicap. My food came from the grocery store by and large, although to give my parents some credit and not to paint the situation in completely black and white terms, we did have some great tomatoes in our backyard garden. Still and all, the aggregate effect of the location and time of my upbringing caused me to miss out on some spectacular eating experiences and even a couple years into growing food, I still didn’t know what good was.
During my second season at Farm Girl Farm, I brought an experienced farmer friend to my melon patch to show him the disappointing results. “See?” I sighed, “I blinked and I missed them. They are all too ripe now, they’re rotting.” My friend laughed and grabbed the nearest muskmelon, with a rotten spot and a dent in the skin where ants were beginning to enter. He deftly removed the bad spot with his knife, cut the melon open, held it first to his nose and began muttering to himself, “Extraordinary”—then devoured the entire fruit in what seemed like one long slurp-bite. “My god its been years since I’ve had a melon this good,” he said. “There’s just nothing like it. You can’t get melons like this anywhere. You’ve got a gold mine here.” Lesson learned. Each summer since then I’ve proudly delivered him one muskmelon, preferably with at least one opening in the skin, the late-summer prize for patience and connoisseurship.
What I still wasn’t entirely getting about the “farm to table” concept was the beauty of skipping the step where a vegetable or fruit spends a few days in between the field and one’s plate, whether that be the grocery store or the farmstand. Coming to the farm to get one’s veggies, literally right out of the field, means access to the melon that would never have made it to the store, the melon that is so ripe it is about to burst through its skin to spread its seeds and start the cycle all over again, the show-stopping tomato with a kaleidoscope of colors and one tear in the skin or small bruise—vegetables that are at their peak of taste but that wouldn’t survive the one-week or even three-day transportation and holding period involved in the retail process. This is the good life!
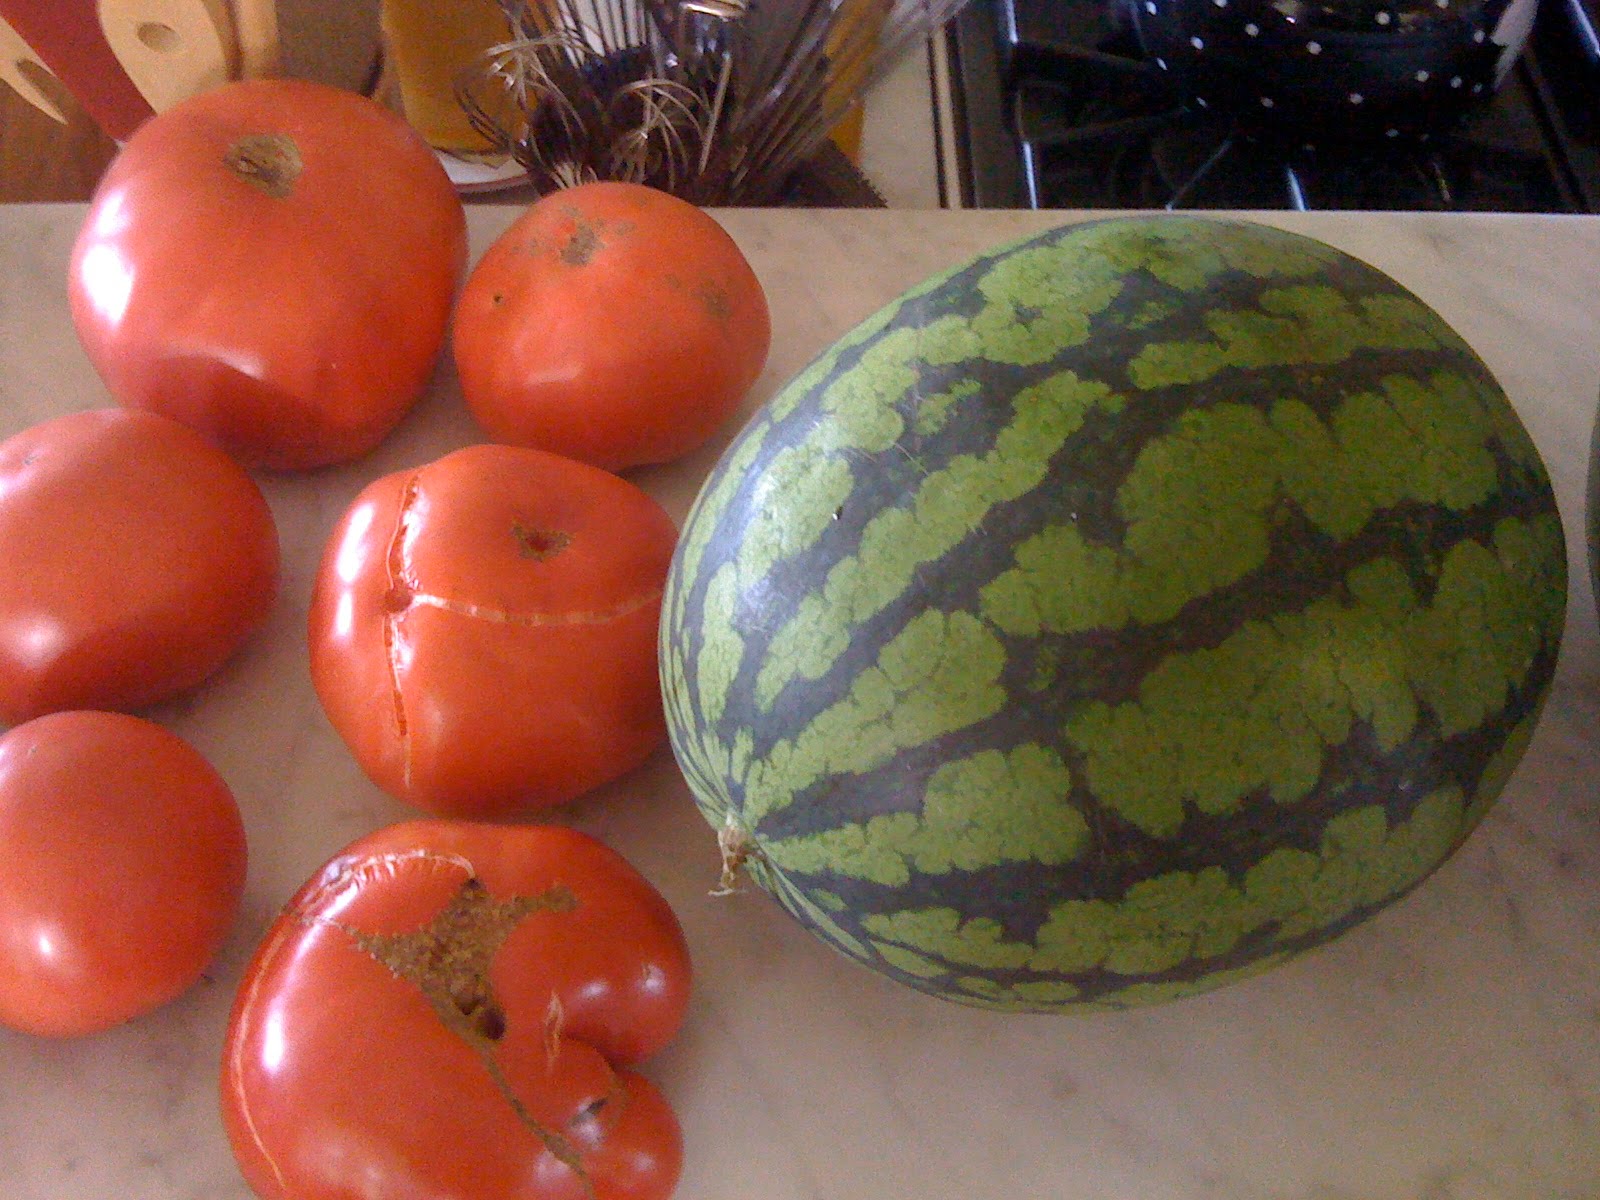
So fear not the melon bursting out of its skin or the 1-pound tomato with a dime-sized soft spot. It’s not everyday you get to experience such a fruit. And winter, and California vegetables, are nipping at our heels. So enjoy.
 |
| Laura's melon, my tomatoes from Laura's seedlings. |
For those of you interested in learning more about how to tell if a melon is ripe in your own garden or to see the process we go through to bring the melons to the CSA table, here is a good webpage:
--Laura Meister, Farm Girl Farm Farmer
Wednesday September 15, 2010
Truly there isn’t a better description of Gordon Hyatt than the one he handed to me yesterday “....a globe trotter in search of a good story, a teller of tales on film...aspiring Renaissance man....a bit of a dandy and a magnificent cook.” For the purposes of Heirloom Meals,
Gordon weaves his culinary tale with host, Carole Murko, in a humble yet erudite manner; the story told in true producer fashion from a seasoned story-teller. Of Polish,Irish and English descent, Gordon shares recipes from his family and those that he developed through his very own love of food, cooking and orchestrating a meal as though it were a symphony. Utterly Delightful!!
Tuesday September 14, 2010
Today we are adding a different theme for Tuesday and moving our Hoofs, Paws and Claws to Sunday.
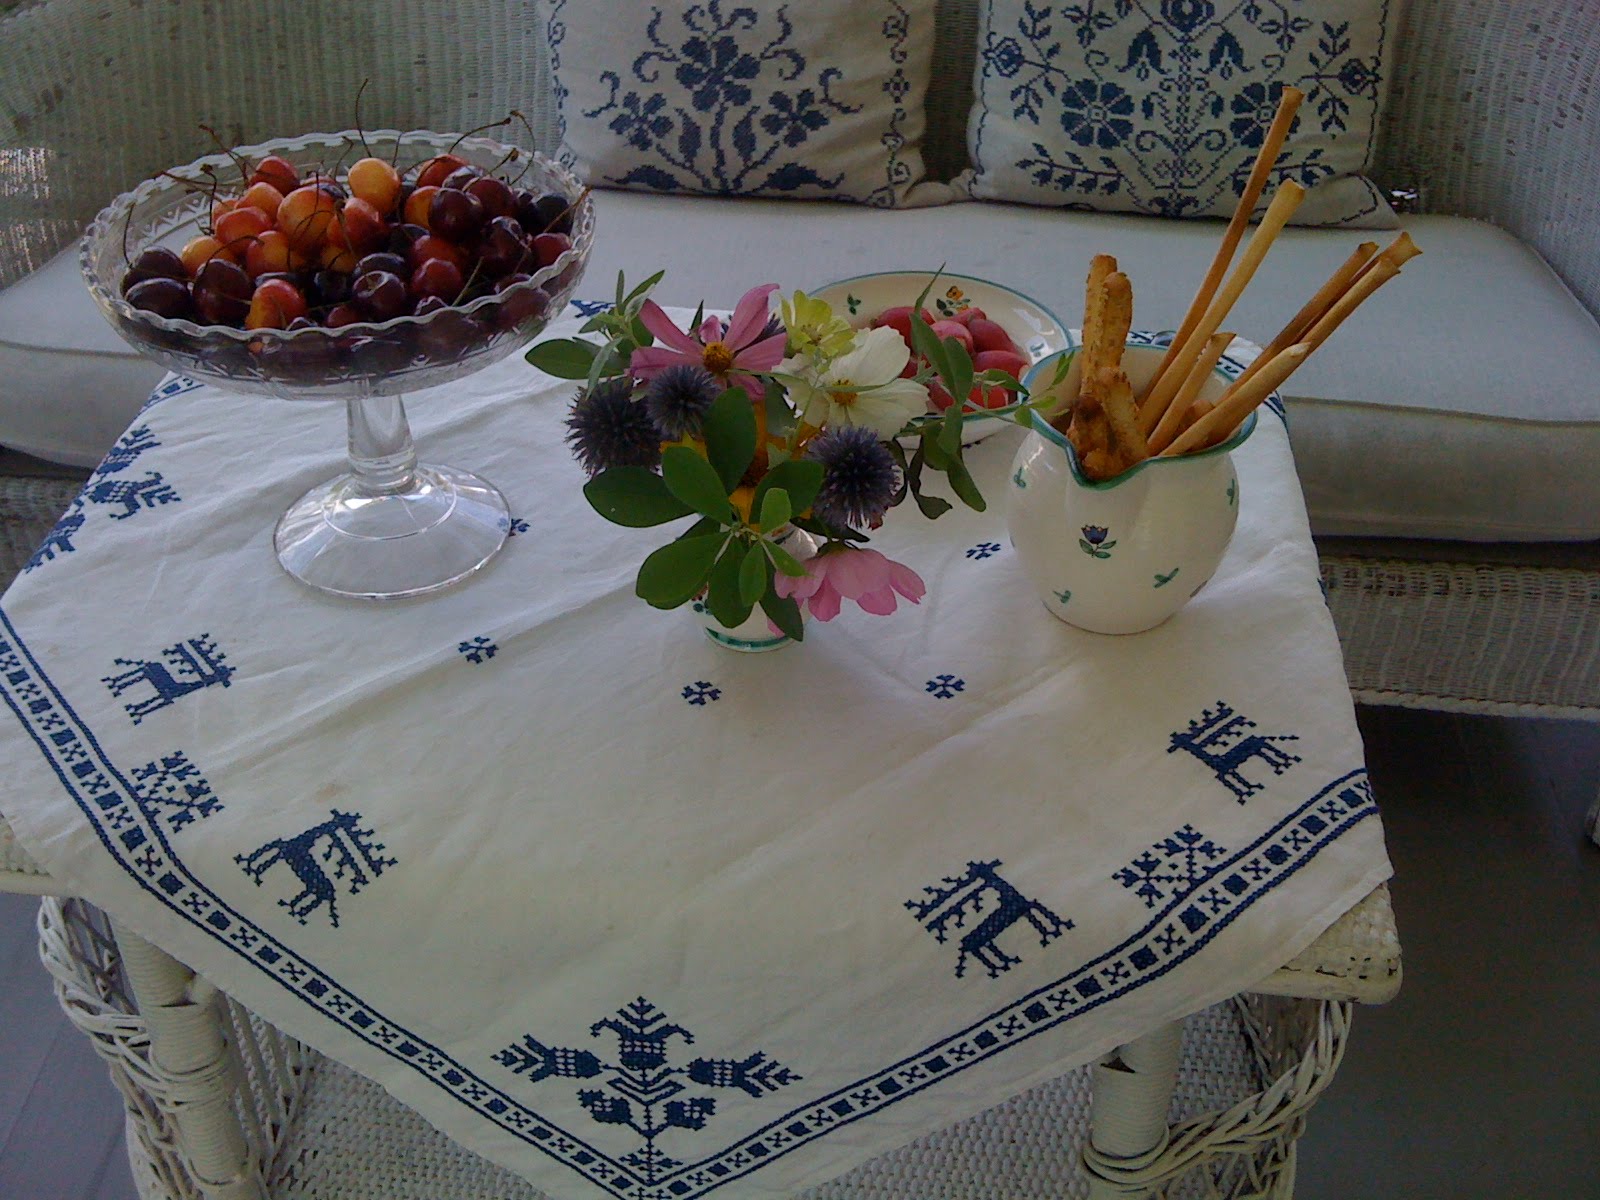
Because Heirloom Meals is about the stories and tips surrounding the family meal and treasured family recipes I wanted to dedicate some thoughts and reflections on heirloom tabletop items and treasures, and highlight the ritual of serving the meal, hints and tips for setting the table and discover and showcase unique implements and tabletop heirlooms.
I can't think of a better first post than to feature my friend and one of my culinary inspirations, Helga Kaiser's tabletop traditions. She is Viennese and entertains with simple elegance. Not only does she whip up her heritage fare, she serves it on her beautiful cross-stitched Austrian linens. So while sampling her delectable delights one can be transported to another time and place - when women cross-stitched their linens with great pride to provide the backdrop to a wonderful meal shared with family and friends.
Monday September 13, 2010
Brimfield makes me happy!!
I had the best day on Saturday. I went to Brimfield and I arrived home with the back of my pick-up full of unexpected treasures!! The best was - 6 dining room chairs for $200. Mind you they need work BUT I have been coveting this style chair for my dining room for years and never pulled the trigger because I was looking at forking over at least $1200/chair with my designer discounts! Not in my budget, now or ever. So when you come across the deal - you have to scoop it even when you had no intention. That's the beauty of Brimfield - you just never know what you are going to come across.
 |
|
I will post the "after" photos when they are reupholstered. |
Great finds aside, I also come across all sorts of heirloom kitchen tools, gadgets etc. So FUN - even if you don't buy - it's a veritable museum of other people's discards from estates, attics, garages, or basements.
Here are a few of my scores:
 |
Nesting Hens for my ever-growing collection, a sewing basket and
Fire King custard cups with rack for water bath - so cool!! |
Oh, and I forgot - my 1930 cast cement flamingos - my whimsy purchase - my garden will never be the same!
Friday September 10, 2010

It's that time - Preserving the Bounty month. And boy do we have some fun canning ahead of us. I have already canned salsa and tomato sauce. Next up ketchup. Don't you just love that all-American condiment? Horrified that high fructose corn syrup is in the list of ingredients of most store-bought brands? Well, here's your opportunity to make your own ketchup from locally grown fresh-from-the-vine tomatoes. And if you live in the Berkshires - come to my canning workshop - Thursday, September 16th @ 7pm - it will be all about KETCHUP!!!
The recipe:
For the spice pack:
4 tbsp celery seeds
5 tsp whole cloves
3 cinnamon sticks
2 tsp whole allspice
3 cups cider vinegar
30 lbs Tomatoes, cored and quartered
4 cup chopped onions
11/2 tsp cayenne pepper
2 cups sugar
1/3 cup pickling salt
From start to finish it can take up to 12 hours to make 7 pints of the BEST KETCHUP you've ever tasted!! So be prepared and plan your time accordingly - start in the morning and you'll be canning in the evening.
Make your spice pack by tying your celery seeds, whole cloves, cinnamon sticks, and allspice in cheescloth. In stainless steel saucepan combine the vinegar and spice pack, boil over high heat, remove from heat and let steep for 1/2 hour. Remove the spice mixture.
Wash and cut up tomatoes, place in stainless steel saucepan with chopped onions and cayenne and bring to boil over medium-high heat. Using a slotted spoon crush tomatoes to release juices. Boil until tomatoes are soft and then add the vinegar. Continue to boil until mixture begins to thicken.
In batches, press tomatoes through a fine sieve (what my grandmother used) or a food mill (what I use) which removes the seeds and skin. Return the skinless, seedless tomatoes with the sugar and canning salt to the saucepan over medium to high heat, stirring occasionally until the liquid is reduced to desired ketchup consistency. I'd like to tell you this is a short amount of time - but it isn't - it's taken 12 hours for one of my batches to come to desired consistency. But believe me you - IT IS WORTH every second!!
Meanwhile, you can be getting your cans ready - place cans on rack of boiling water canner, add water until the pint jars are about 2/3rds full. Cover and bring to a simmer. This process kills any bacteria. In a small saucepan, place the lids - the flat, round piece, cover and bring to a simmer. The screw bands do not need to sterilized.
Now you are ready to start canning your ketchup. One jar at a time, remove from canner, pouring hot water back into canner, place jar on flat heat-resistant surface. Ladle sauce into jar leaving about a half inch of headspace, wipe the rim and threads with a paper towel.
( This is important to make sure vacuum seal can occur). Lift a hot lid with your tongs (or madnet) and place on jar and then screw the lid with your fingertips until tight. Place back in canner with tongs. Repeat until done.
Cover all jars with additional water by an inch or so. Cover canner and bring to a boil. The boiling must be continuous and rapid for 15 minutes. Remove lid, let sit for about 5 minutes or so. Remove jars without tilting, place jars on a towel in a draft-free spot and allow to cool for 24 hours. Store in a cool dark place for up to a year.
I will post the video of the demo for next week's post!! HAPPY CANNING!